Relief
Linocut Process
Linocut is a relief printmaking technique where an image is carved into a linoleum block. The carved areas remain white (or the color of the paper), leaving the raised areas to be inked. The block is then inked with a roller and pressed onto paper. Gray tones are created through patterns of black and white lines. The process can be repeated to produce multiple prints.
Step One
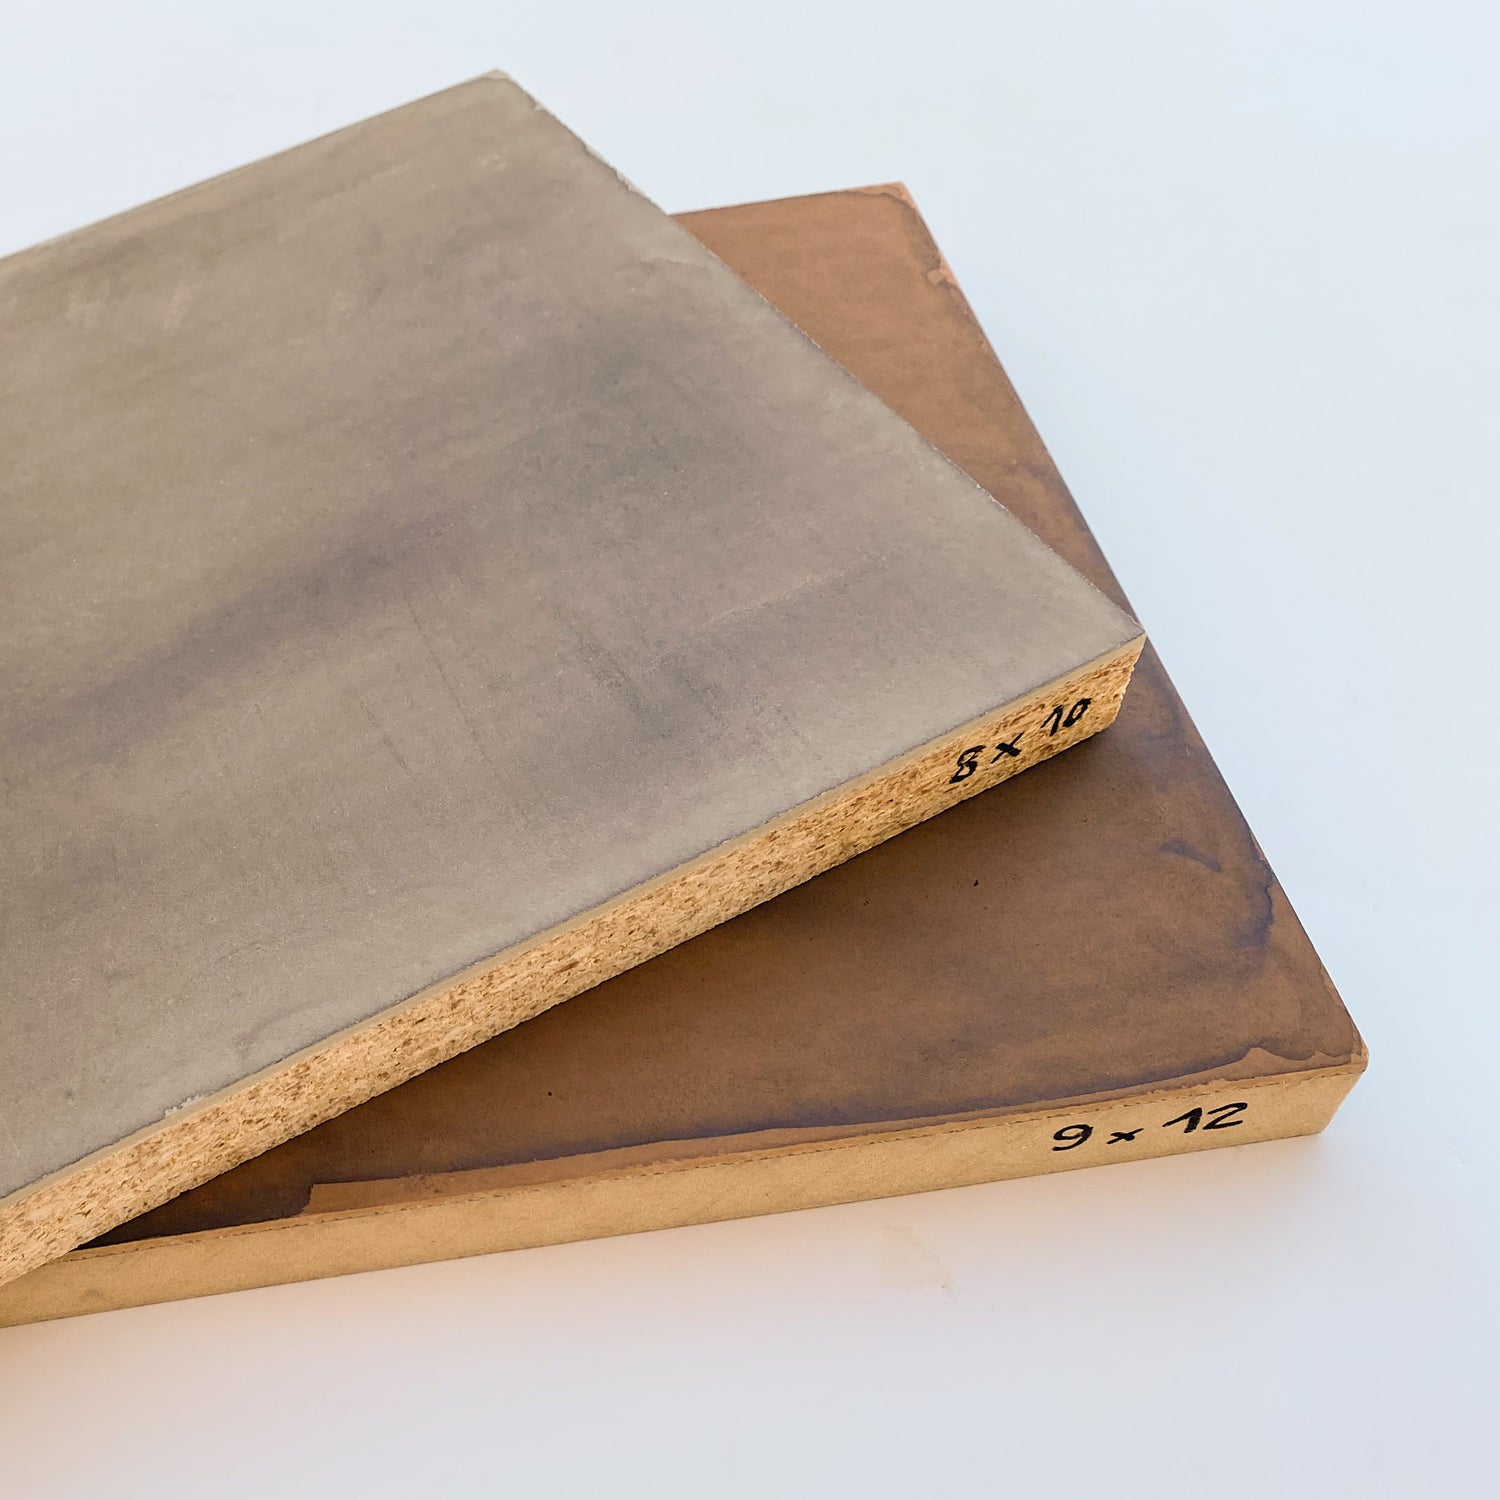
Linoleum Block
The block comes in two colors (brown and gray) and various sizes. For t-shirts, we typically use 8 x 10" or 9 x 12" sizes. Before starting the carving, we apply a layer of black ink, which helps the carved areas stand out more clearly.
Step Two
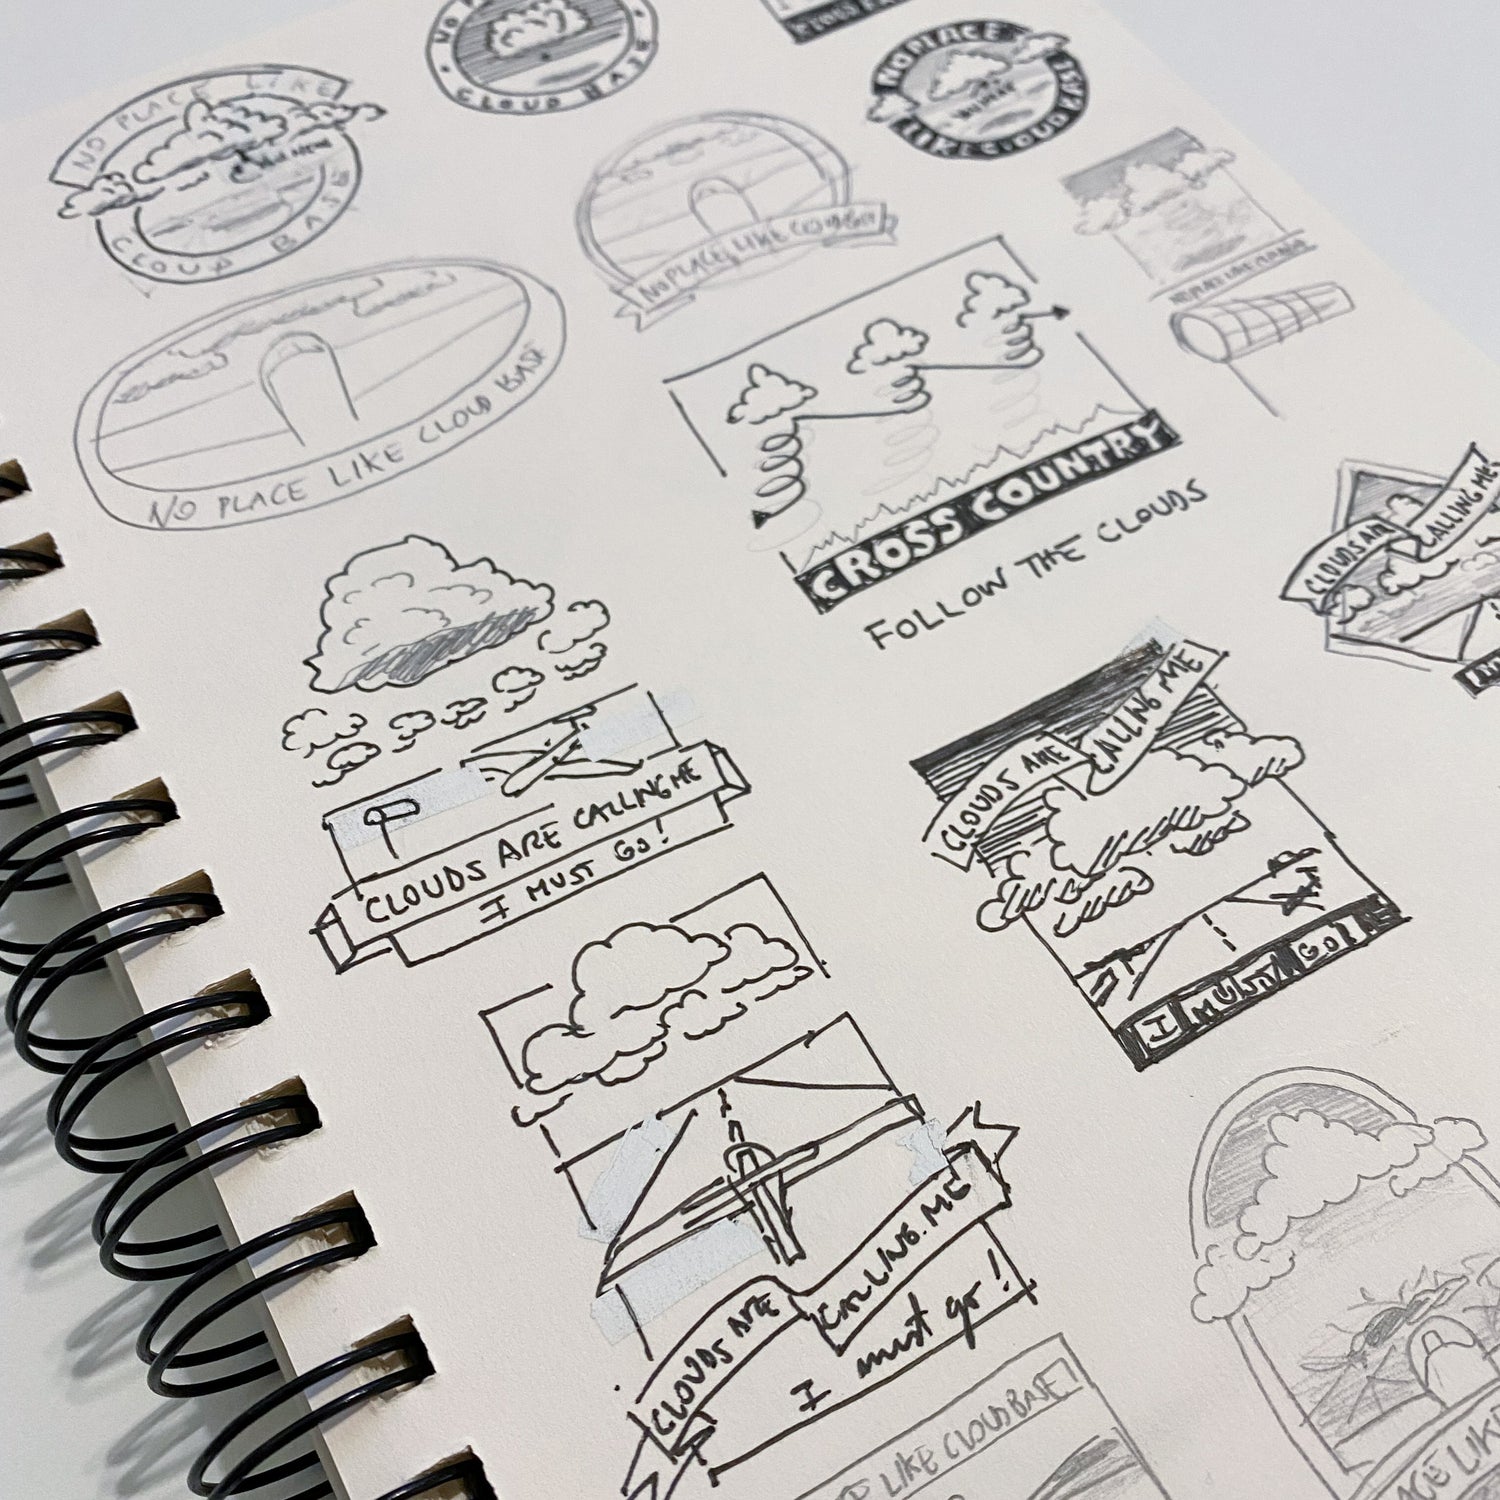
Sketches
Before starting the carving, we first decide on the design. We typically begin with paper sketches and then explore additional ideas on the computer. Then we print the final image on the right size reversed
Step Three
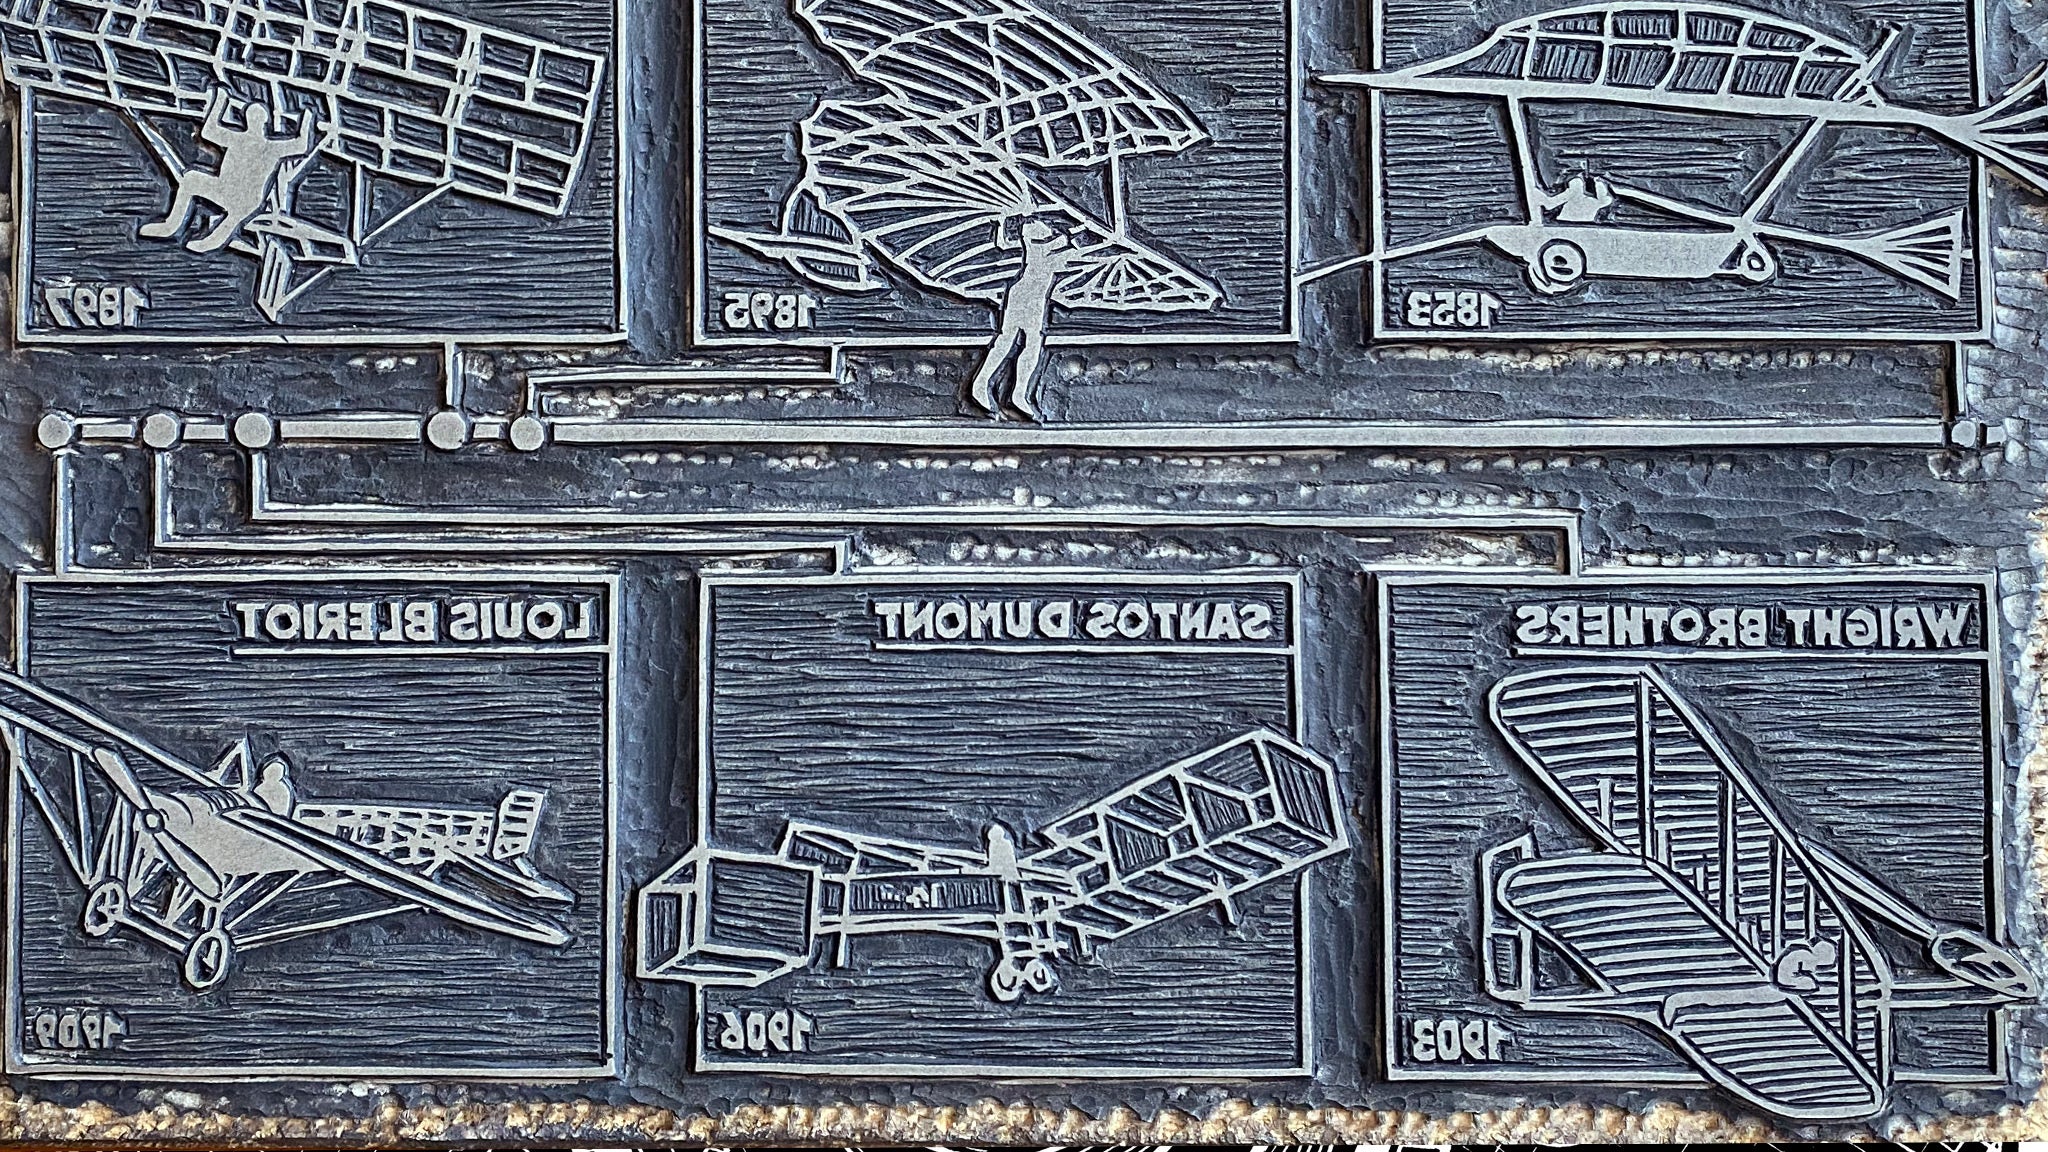
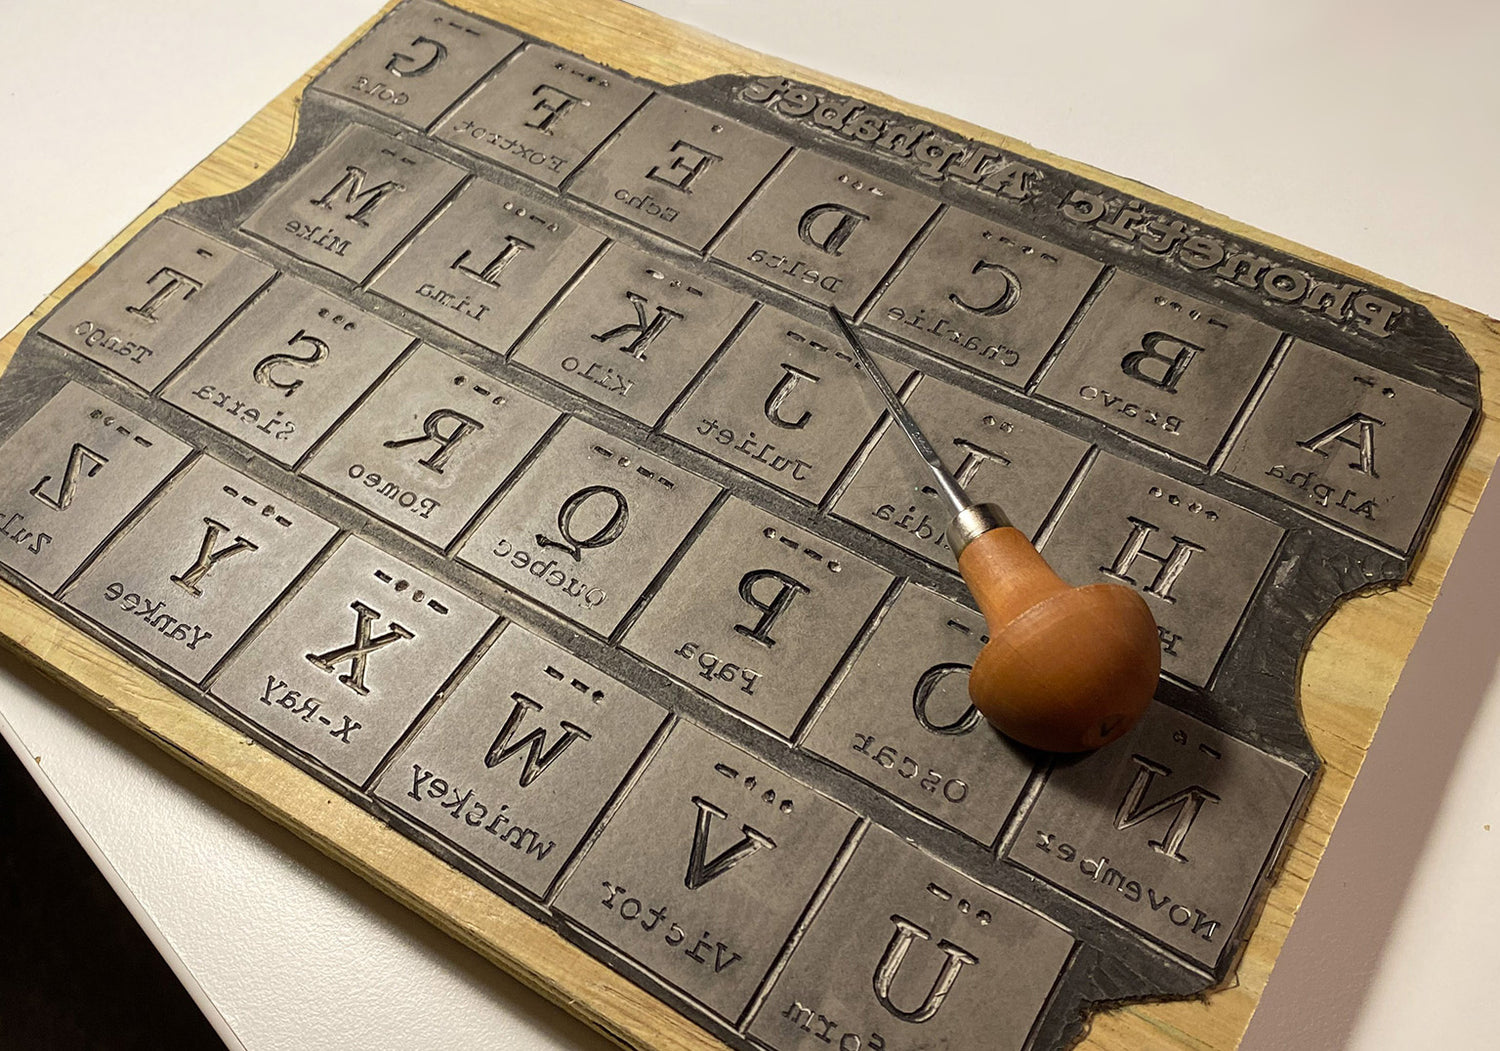
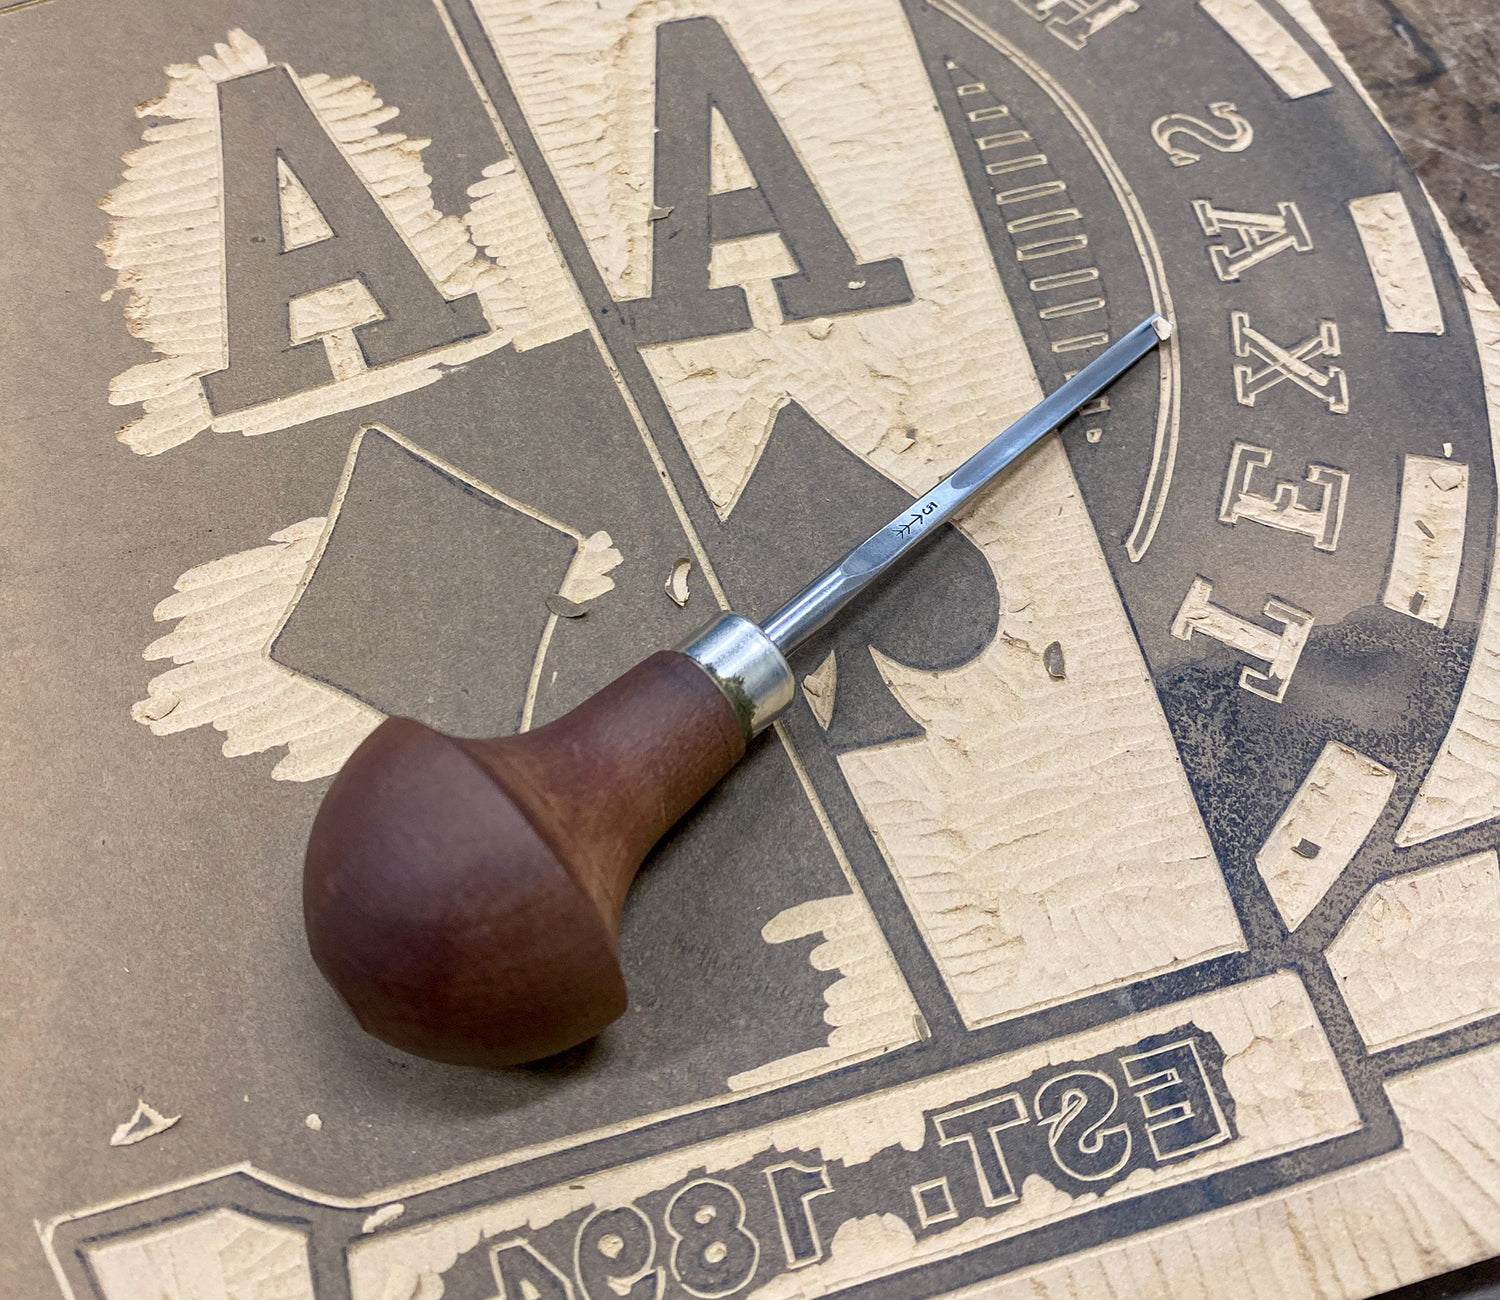
Carving
The areas that are carved will appear white, while the untouched areas will remain black, similar to a stamp. Any letters or numbers need to be reversed.
Step Four
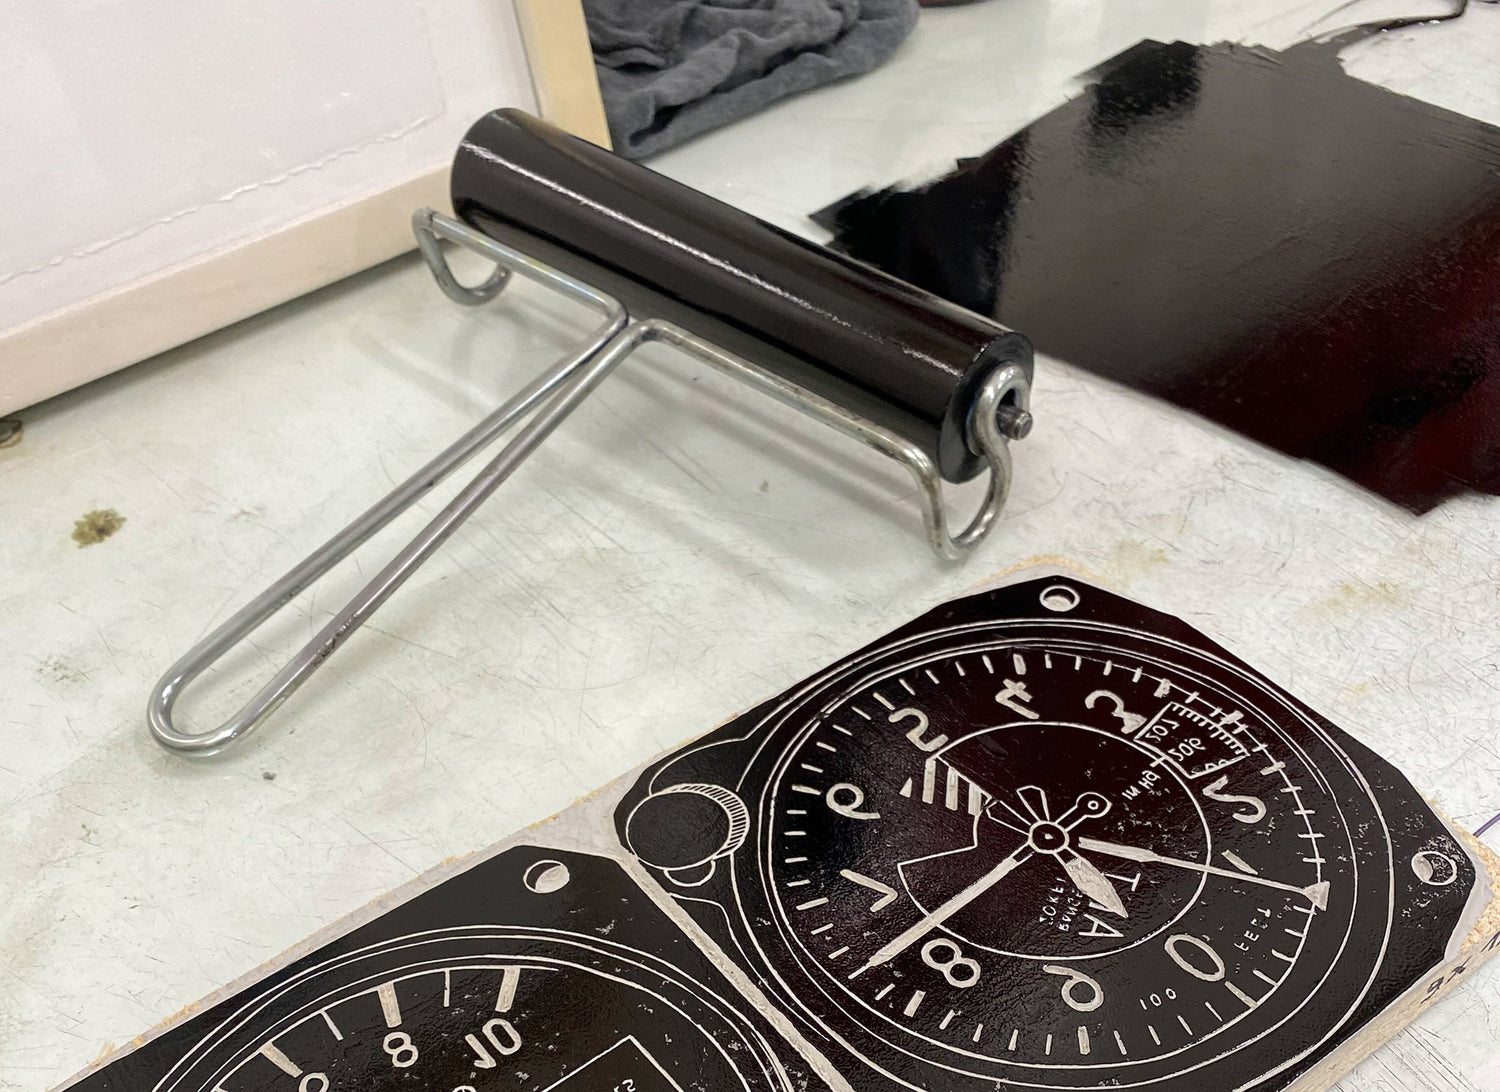
Inking
Once the carving is done, we prepare the ink, then roll the brayer over it and transfer it to the block as many times as needed until the block has the right amount of ink.
Step Five
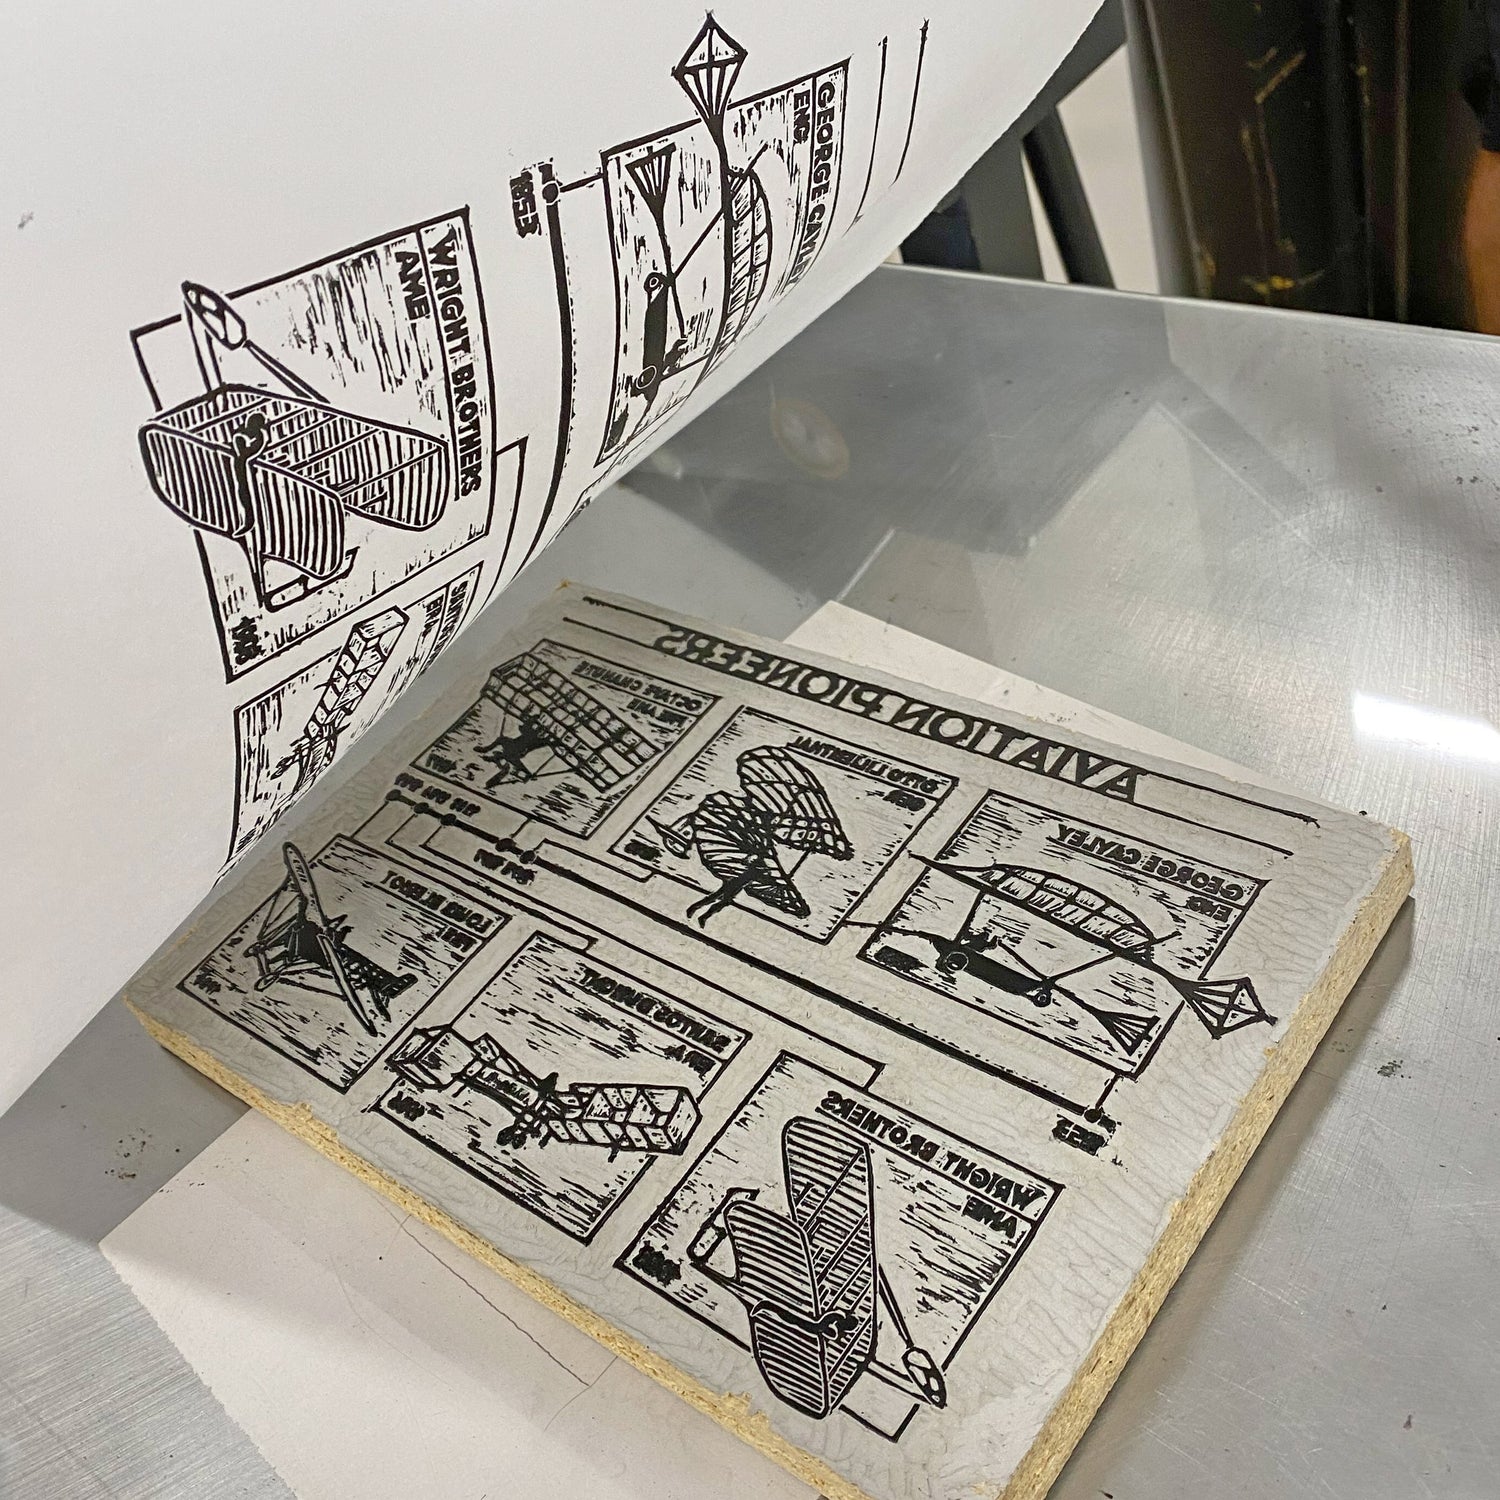
Paper Proof
Once we feel confident that we're close to the final version, we run the block through the press to print a proof on paper and assess where we stand. Usually, some further carving is needed after the proof.

Step Six
T-shirt Proof
Selecting the t-shirt color and the print color is the final step in the process. These t-shirts are not the final products; they are proofs to ensure the colors are correct. After that, we scan the final paper prints and send them to be screen printed.