Intaglio process
Etching and Aquatint
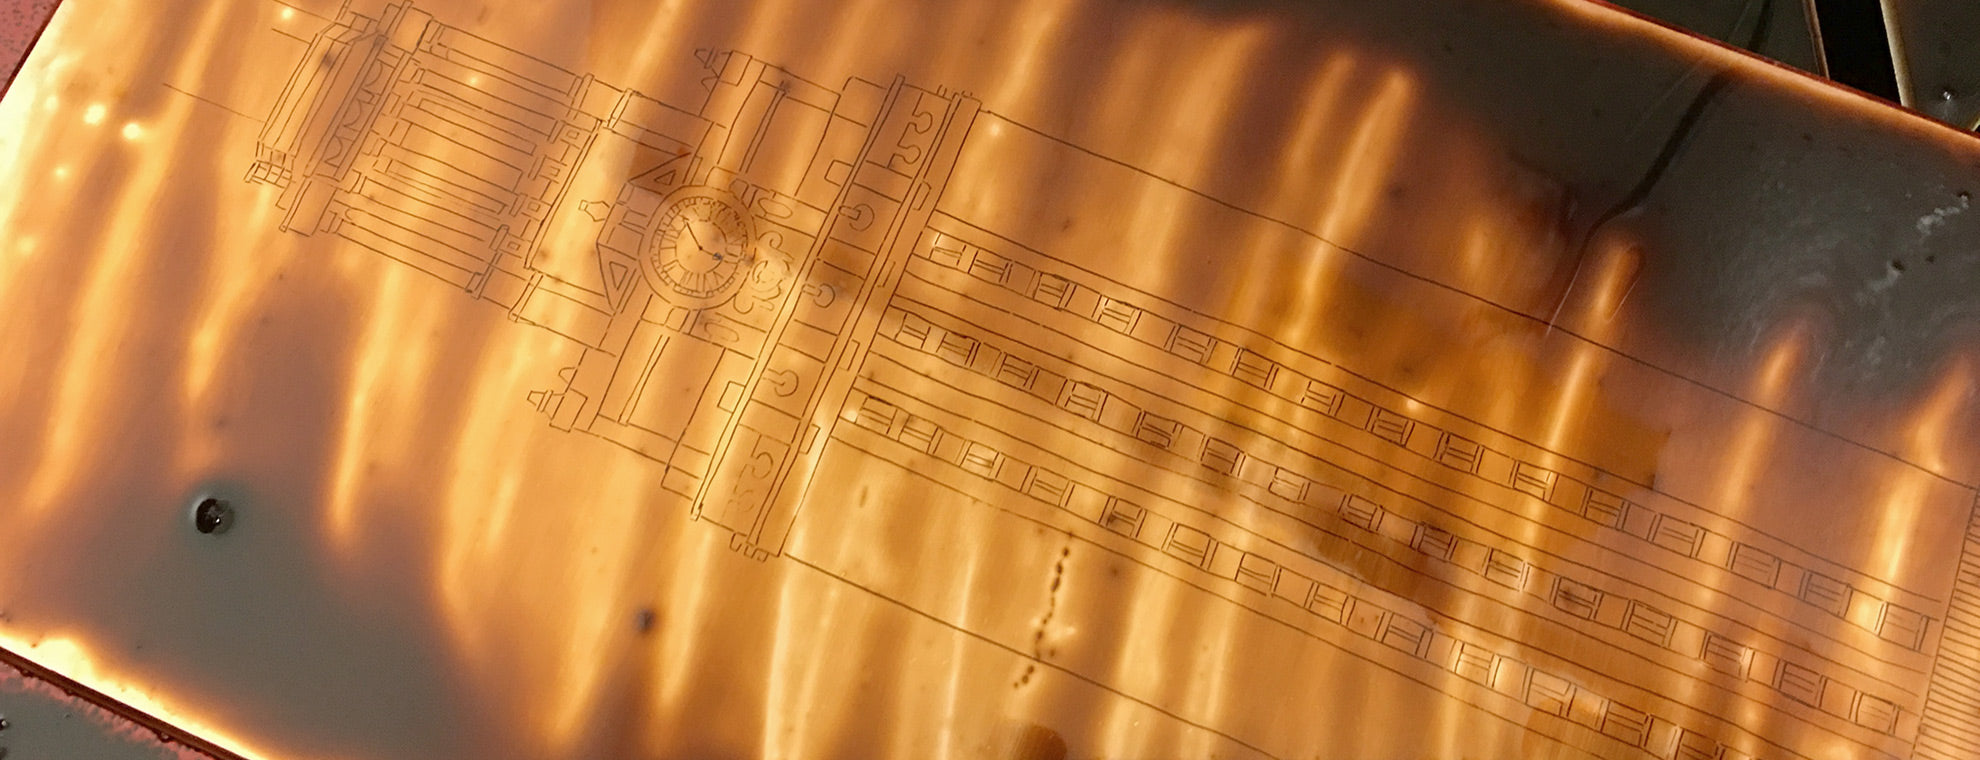
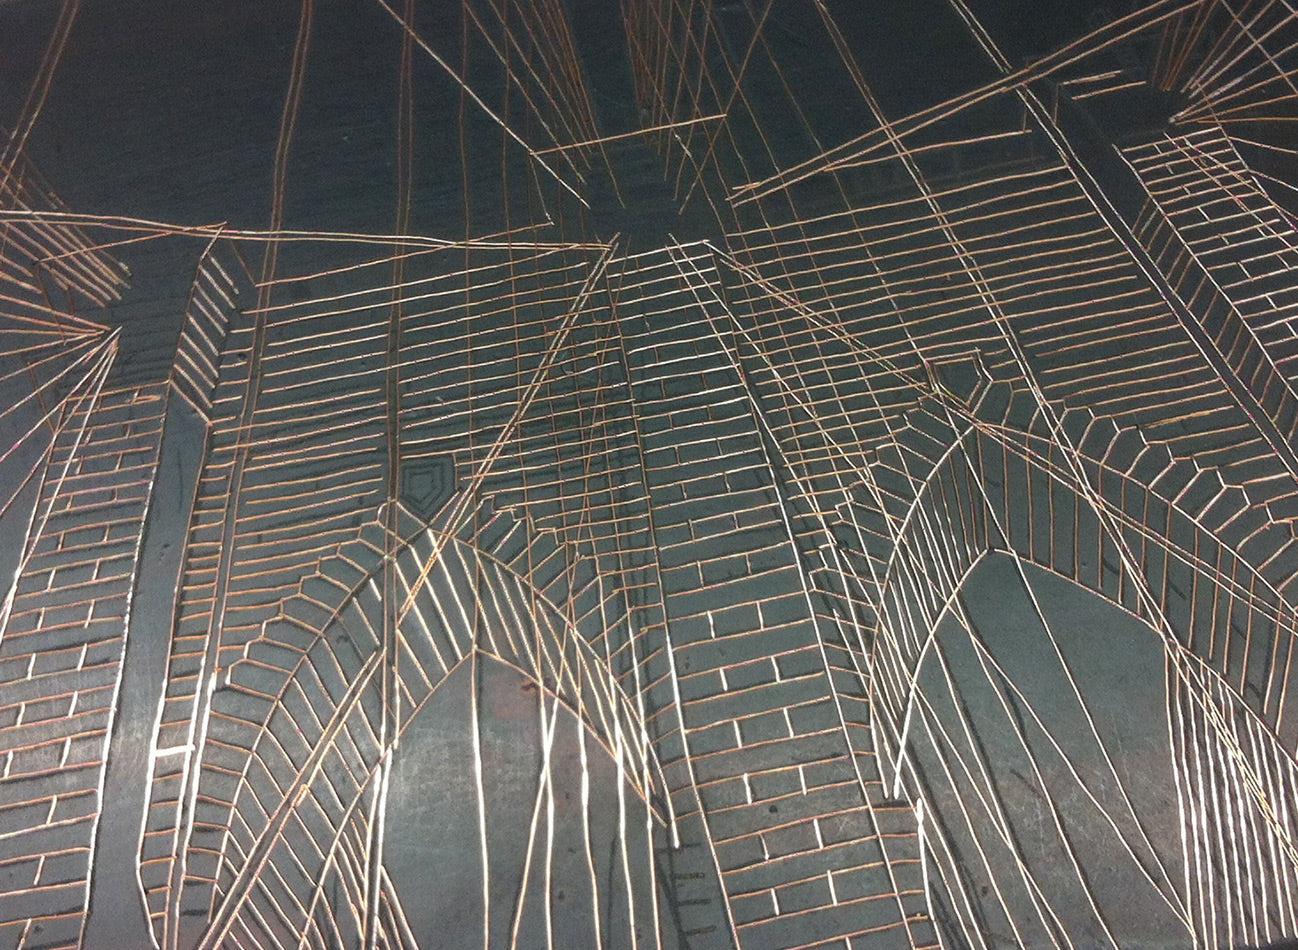
The intaglio process, dating back to the Renaissance, involves carving or etching an image into a metal plate, typically copper. Ink is applied, wiped off (buffed), leaving ink in the recessed lines, which is then transferred to paper through a press. This method is known for its fine detail and deep, rich lines.
Step One
Bevel the Edges
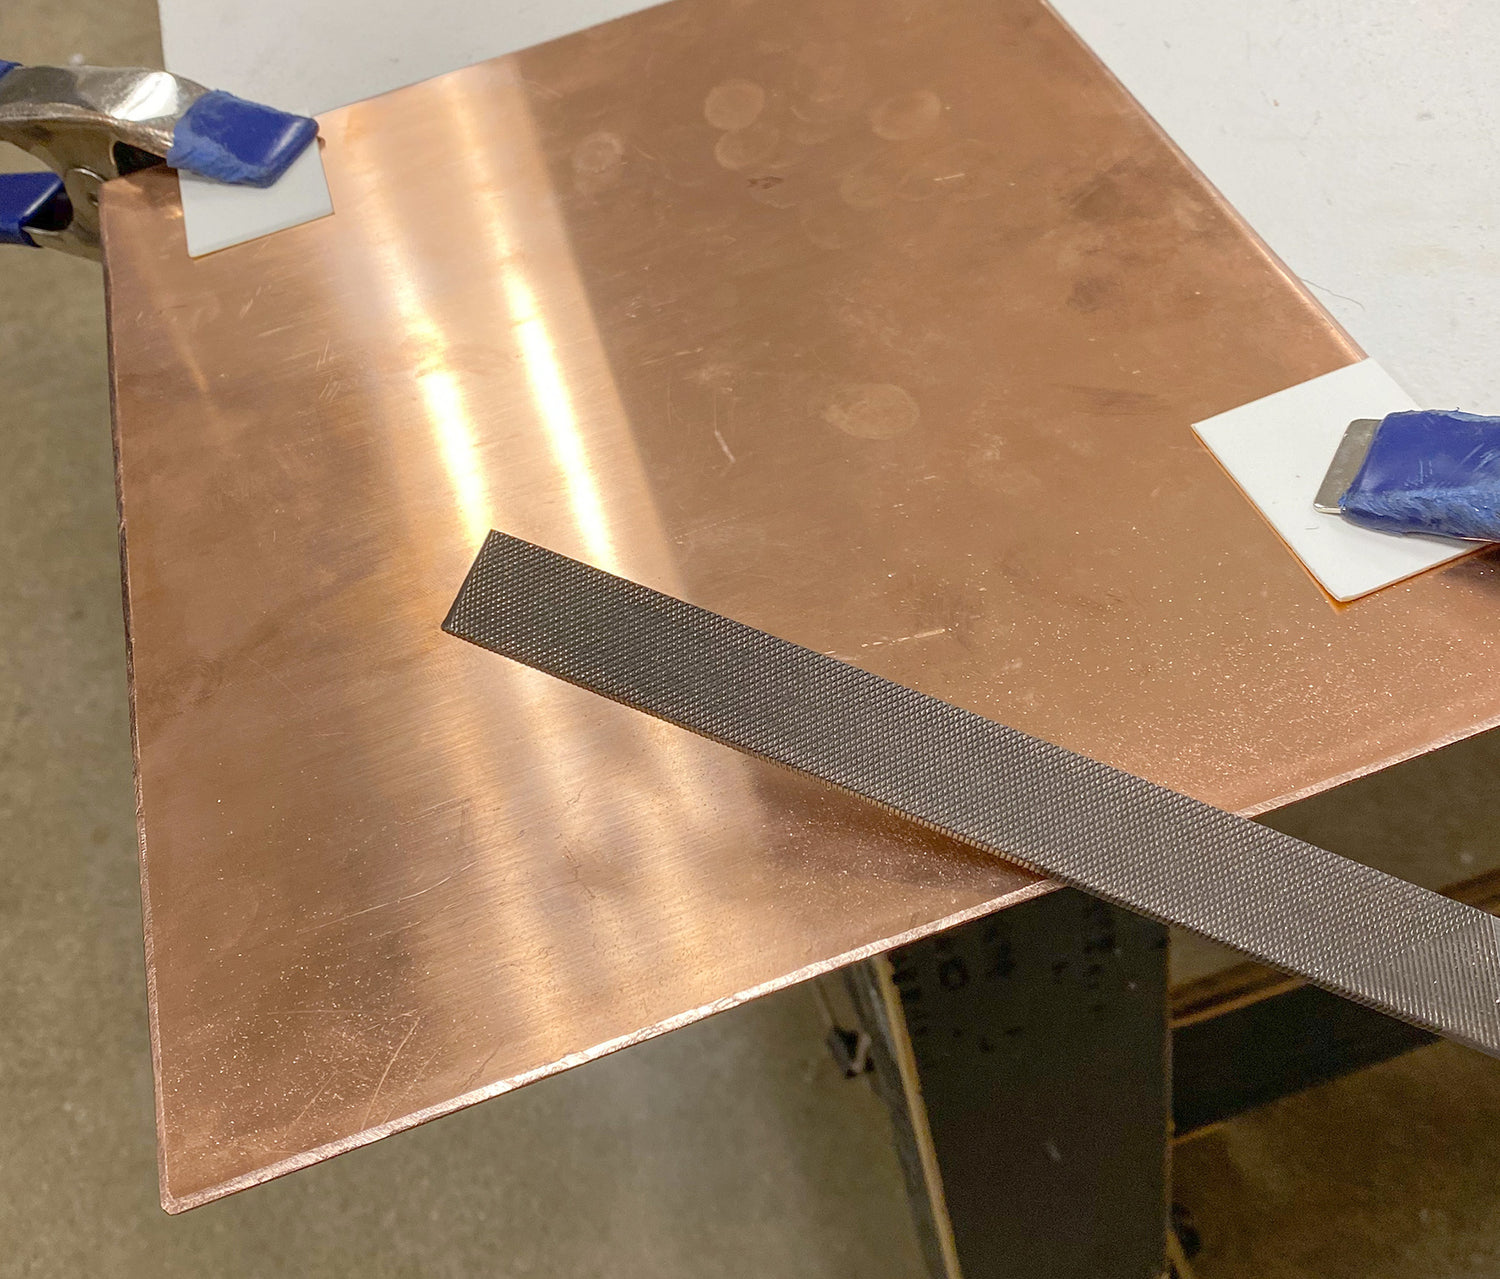
After purchasing a 16-gauge copper plate, the size will vary depending on the project. We can then remove its plastic protection, and the first step is to bevel the edges so the plate runs smoothly through the press.
Step Two
Hard Ground
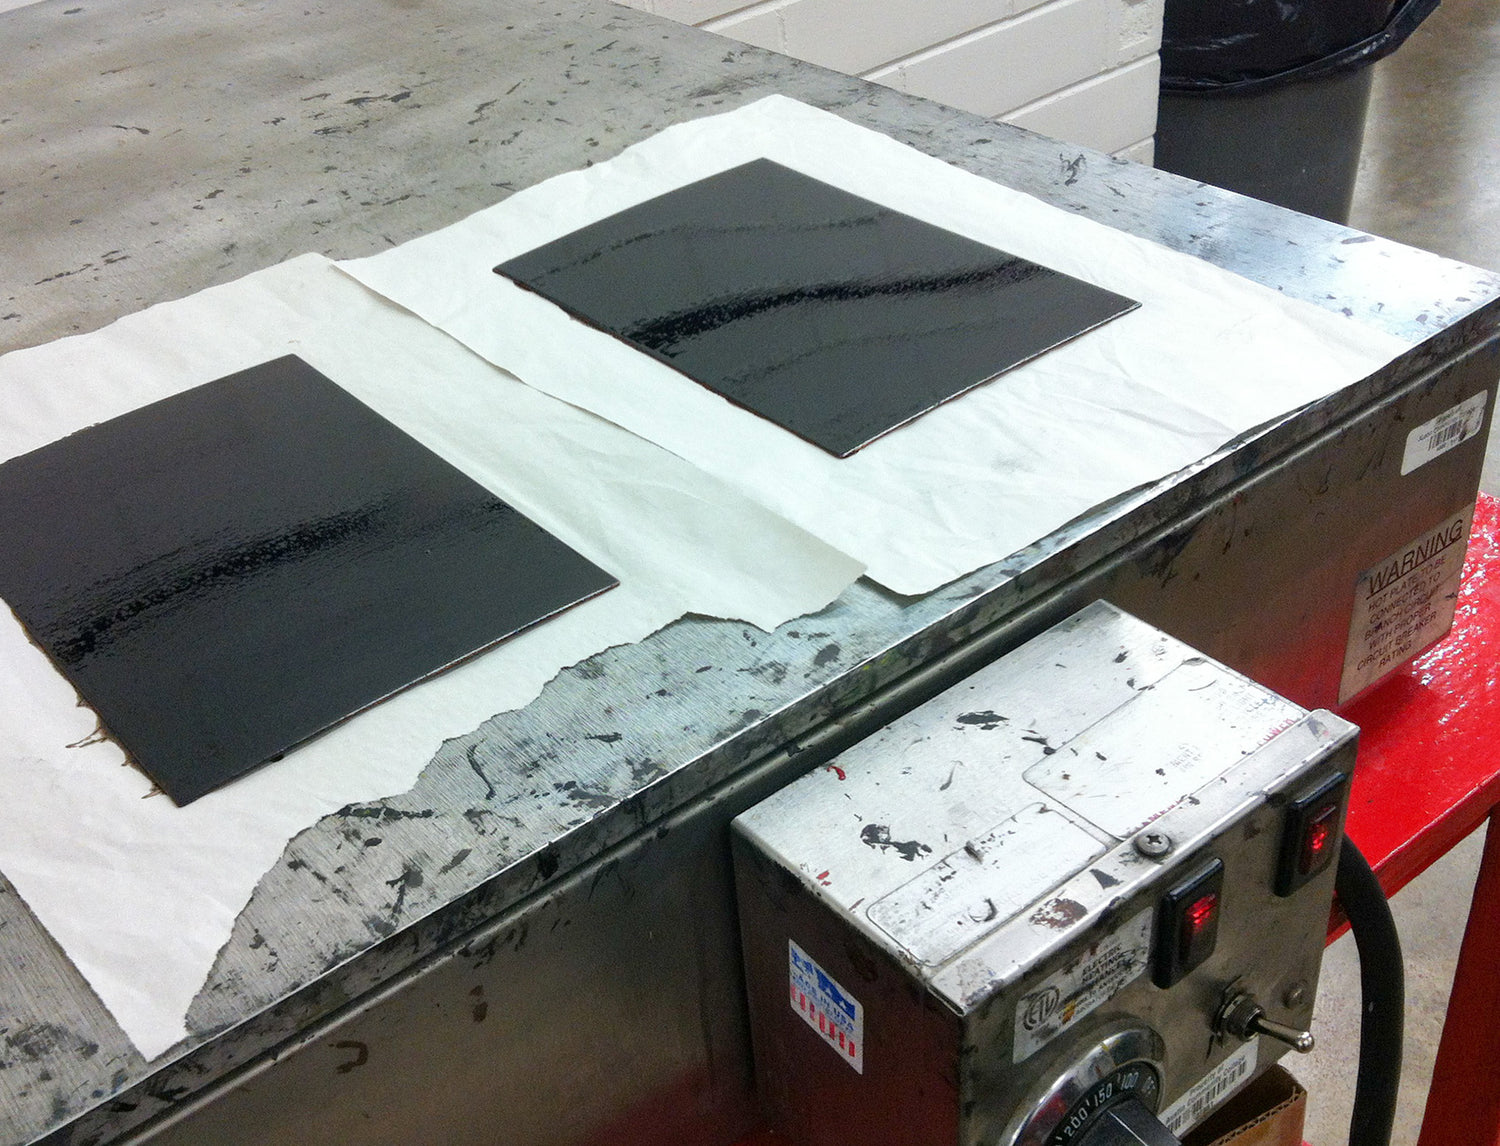
Once the plate is ready, we degrease it, let it dry, and then paint the surface with hard ground. After that, we bring the plate to the hot plate to create a smooth, even thin layer.
Step Three
Line Work
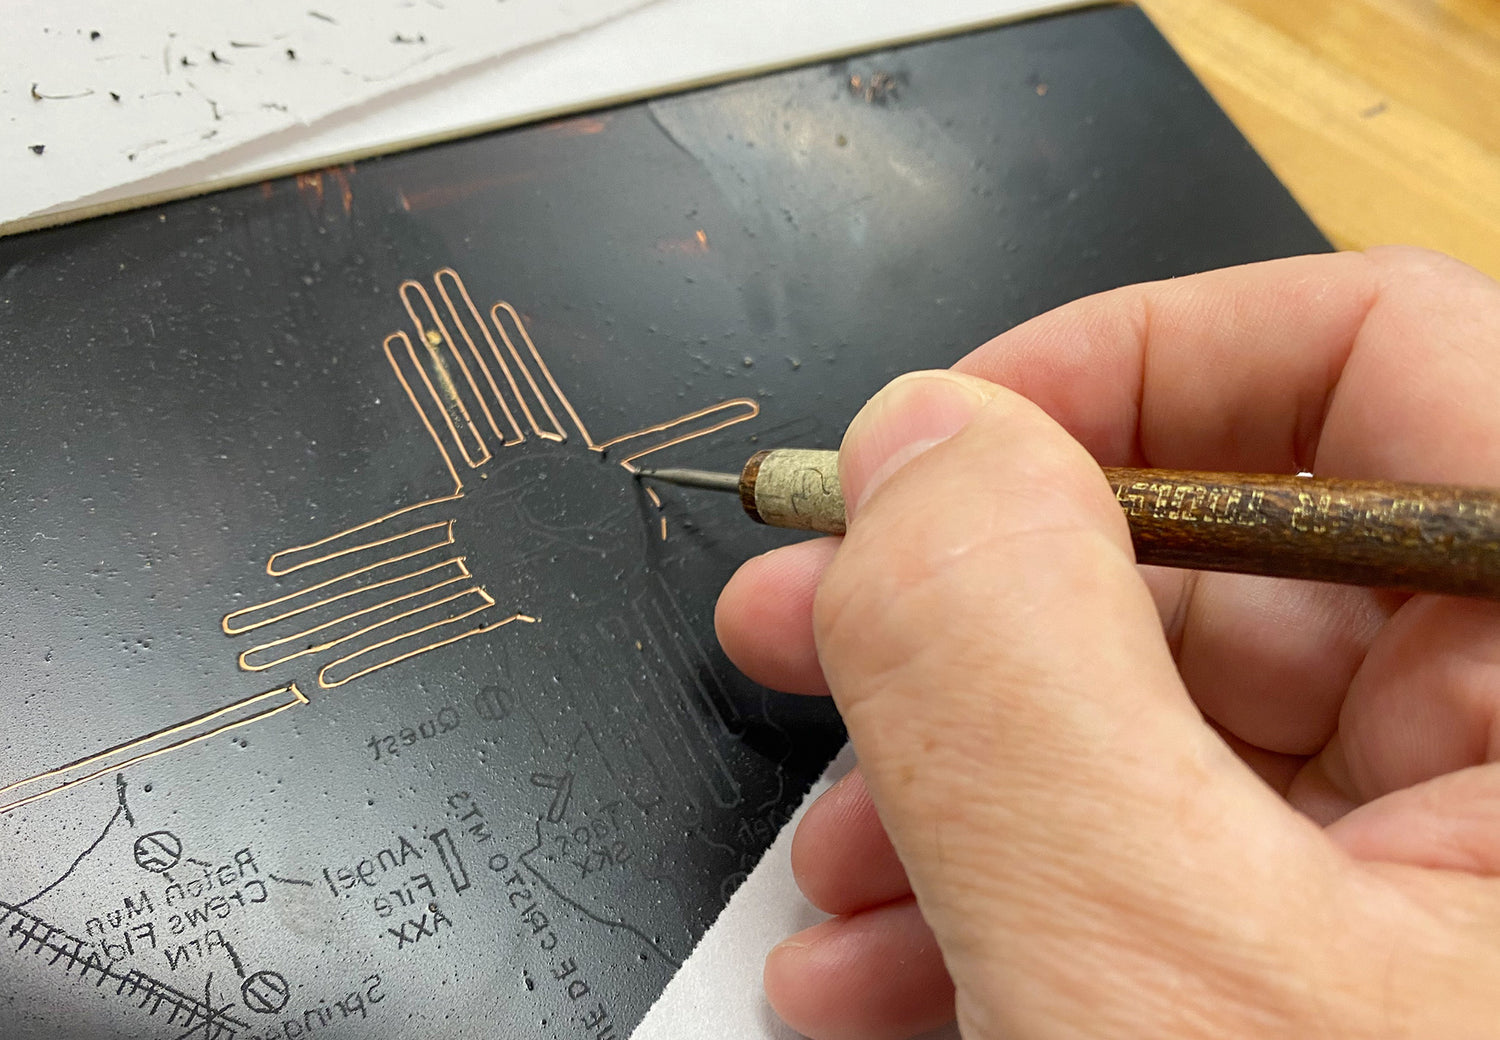
After defining the design, we transfer the image to the plate and begin removing the hard ground using either an etching needle or a rounded-edge tool. The exposed lines allow the acid to create valleys in the plate, which will later hold the ink for printing.
Step Four
Acid Exposure
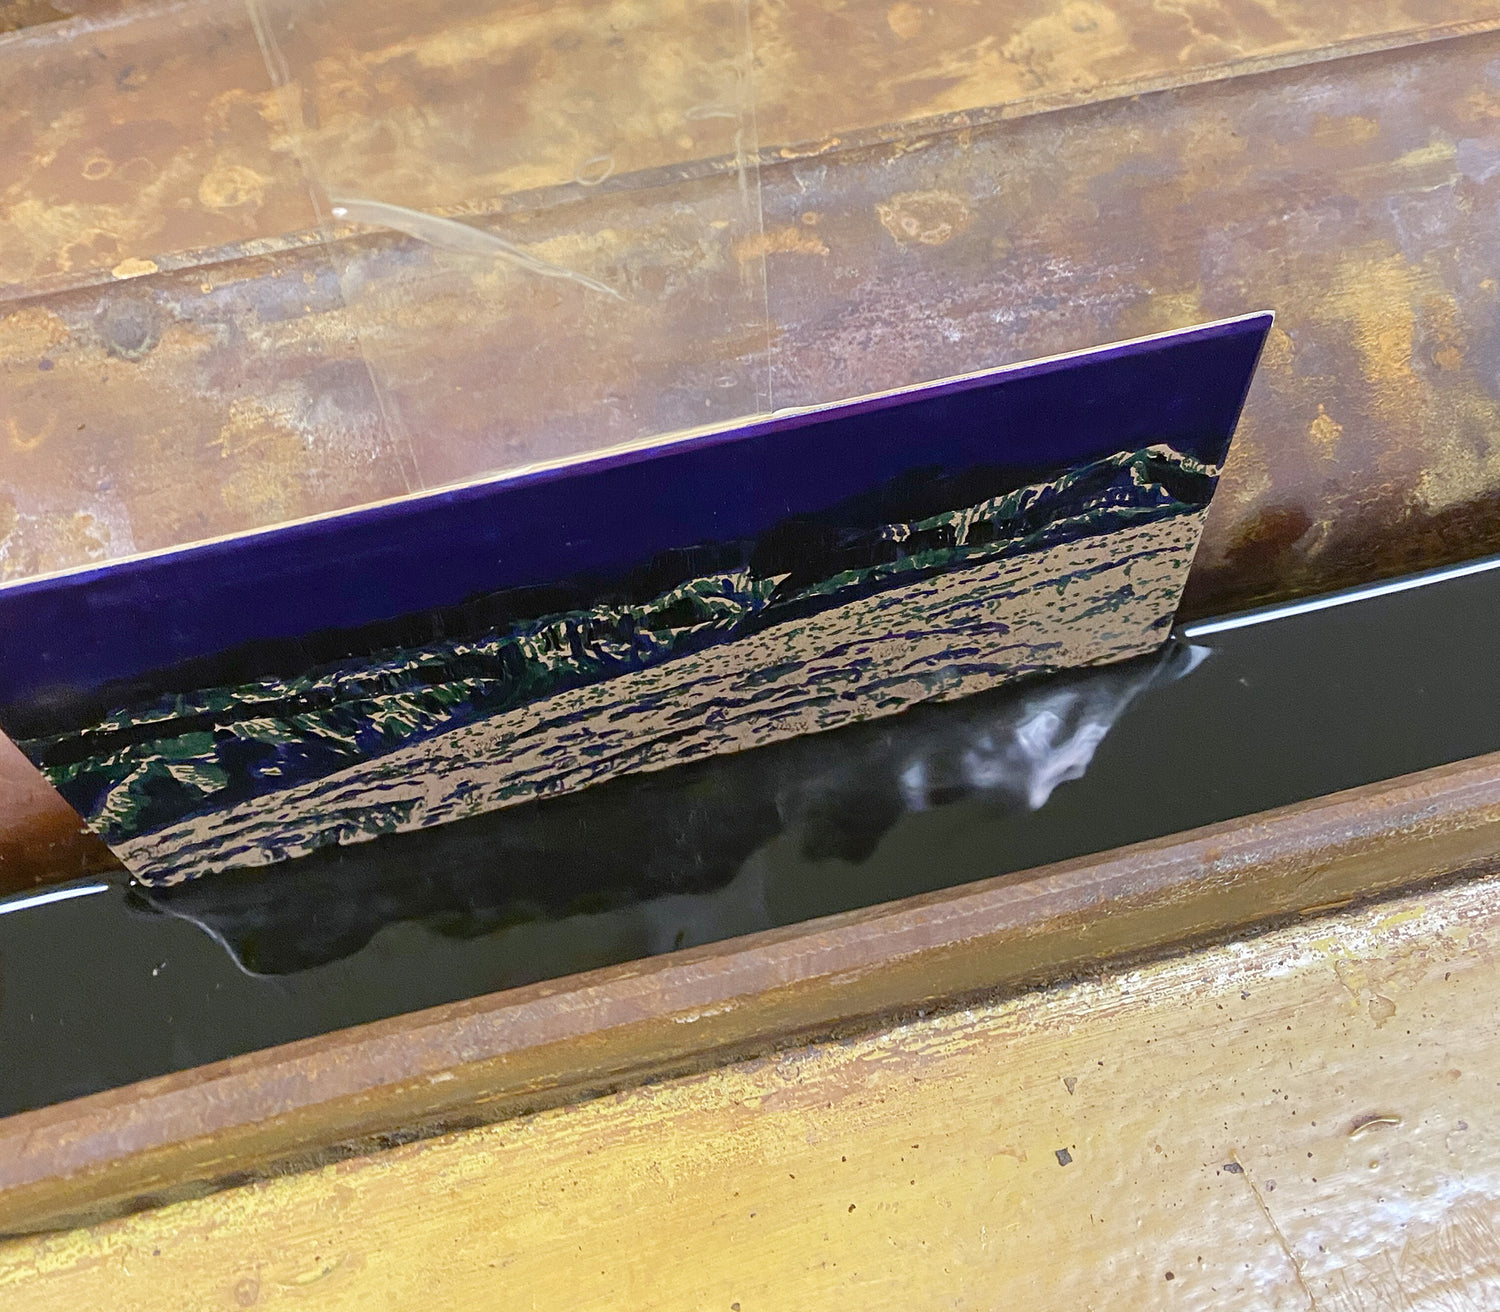
Once all the lines are defined, we protect the back of the plate with a vinyl adhesive sheet to shield it from the acid. We then immerse the plate into the tank. The first exposure typically lasts an hour, but may be longer for thicker lines. This step etches the lines into the plate.
Step Five
Remove Hard Ground
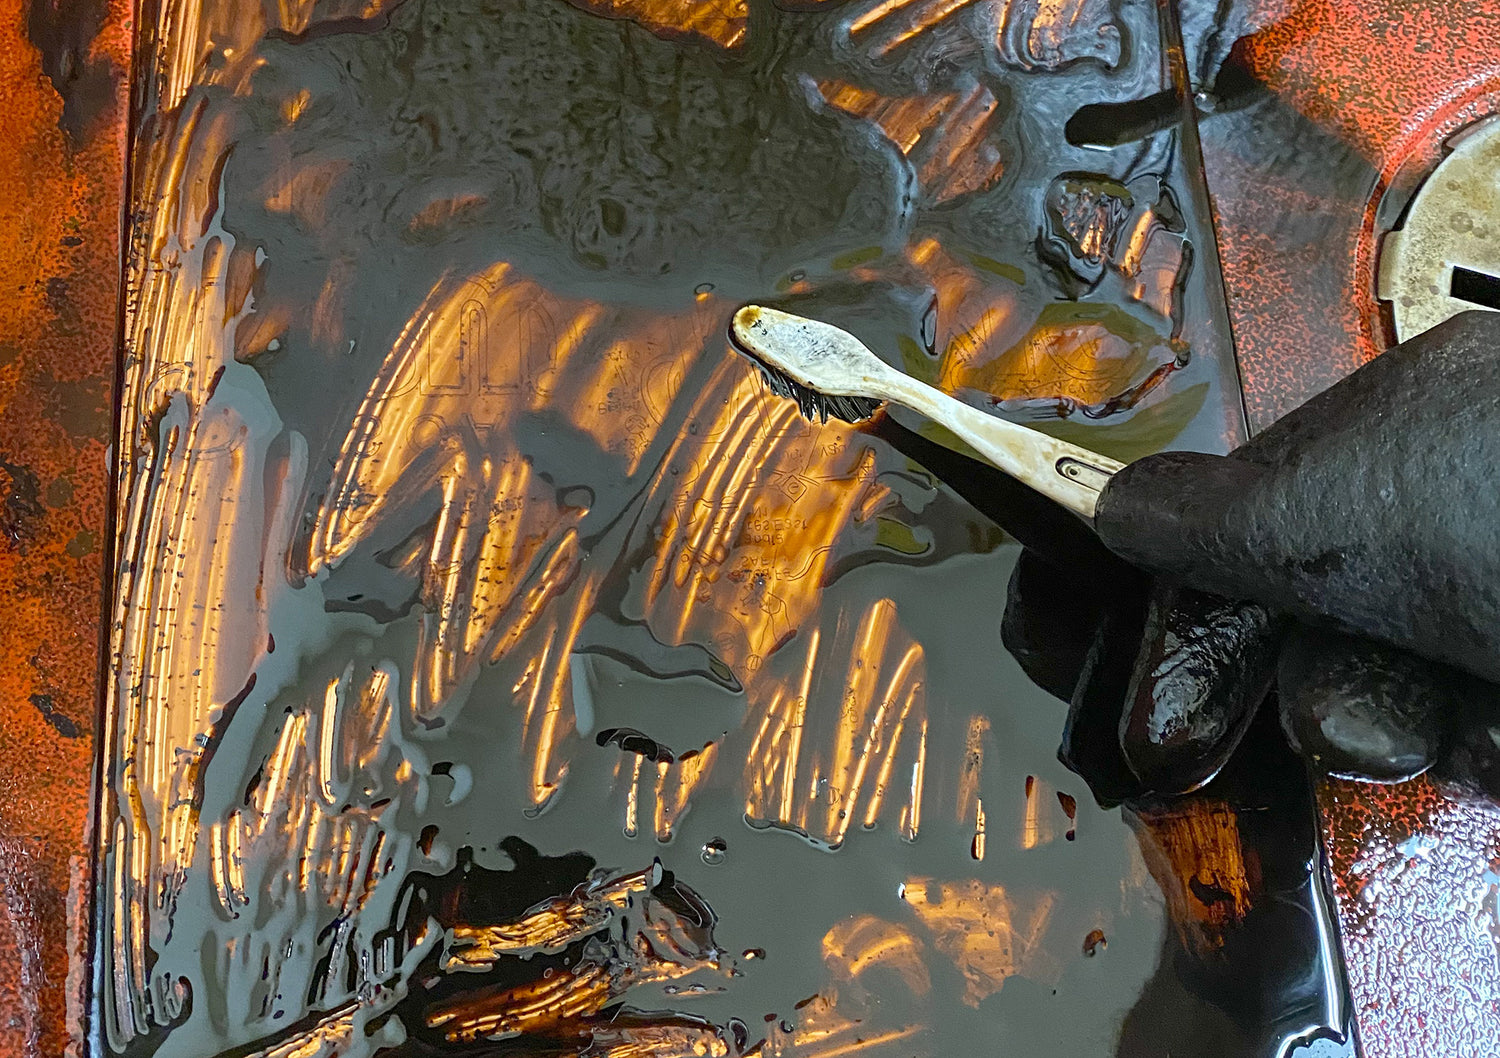
After exposing the plate to the acid, we remove the hard ground. Once the hard ground is removed, the lines become visible, and the plate, once cleaned, is ready for printing.
Step Six
Inking and Buffing
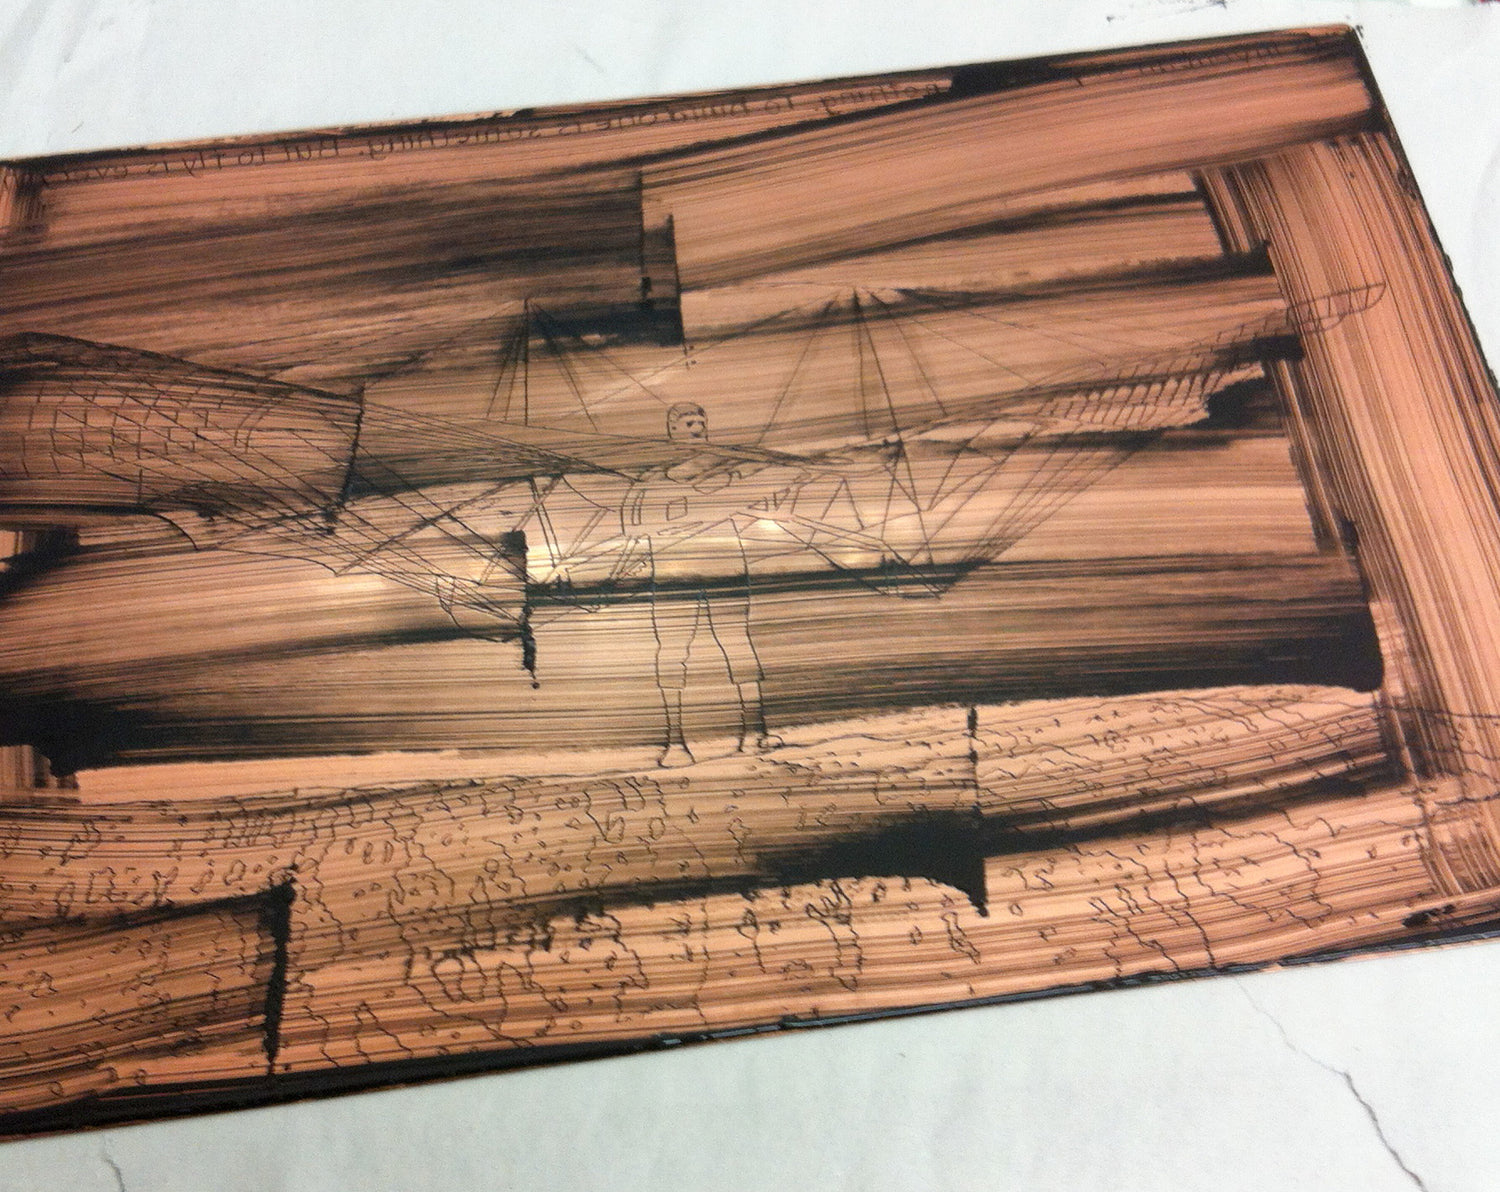
After preparing the ink with a few drops of oil, we cover the plate with ink and then begin buffing. The buffing removes the ink from the surface, leaving it only in the valleys carved by the acid. This process can take 10 to 15 minutes, depending on the size of the plate.
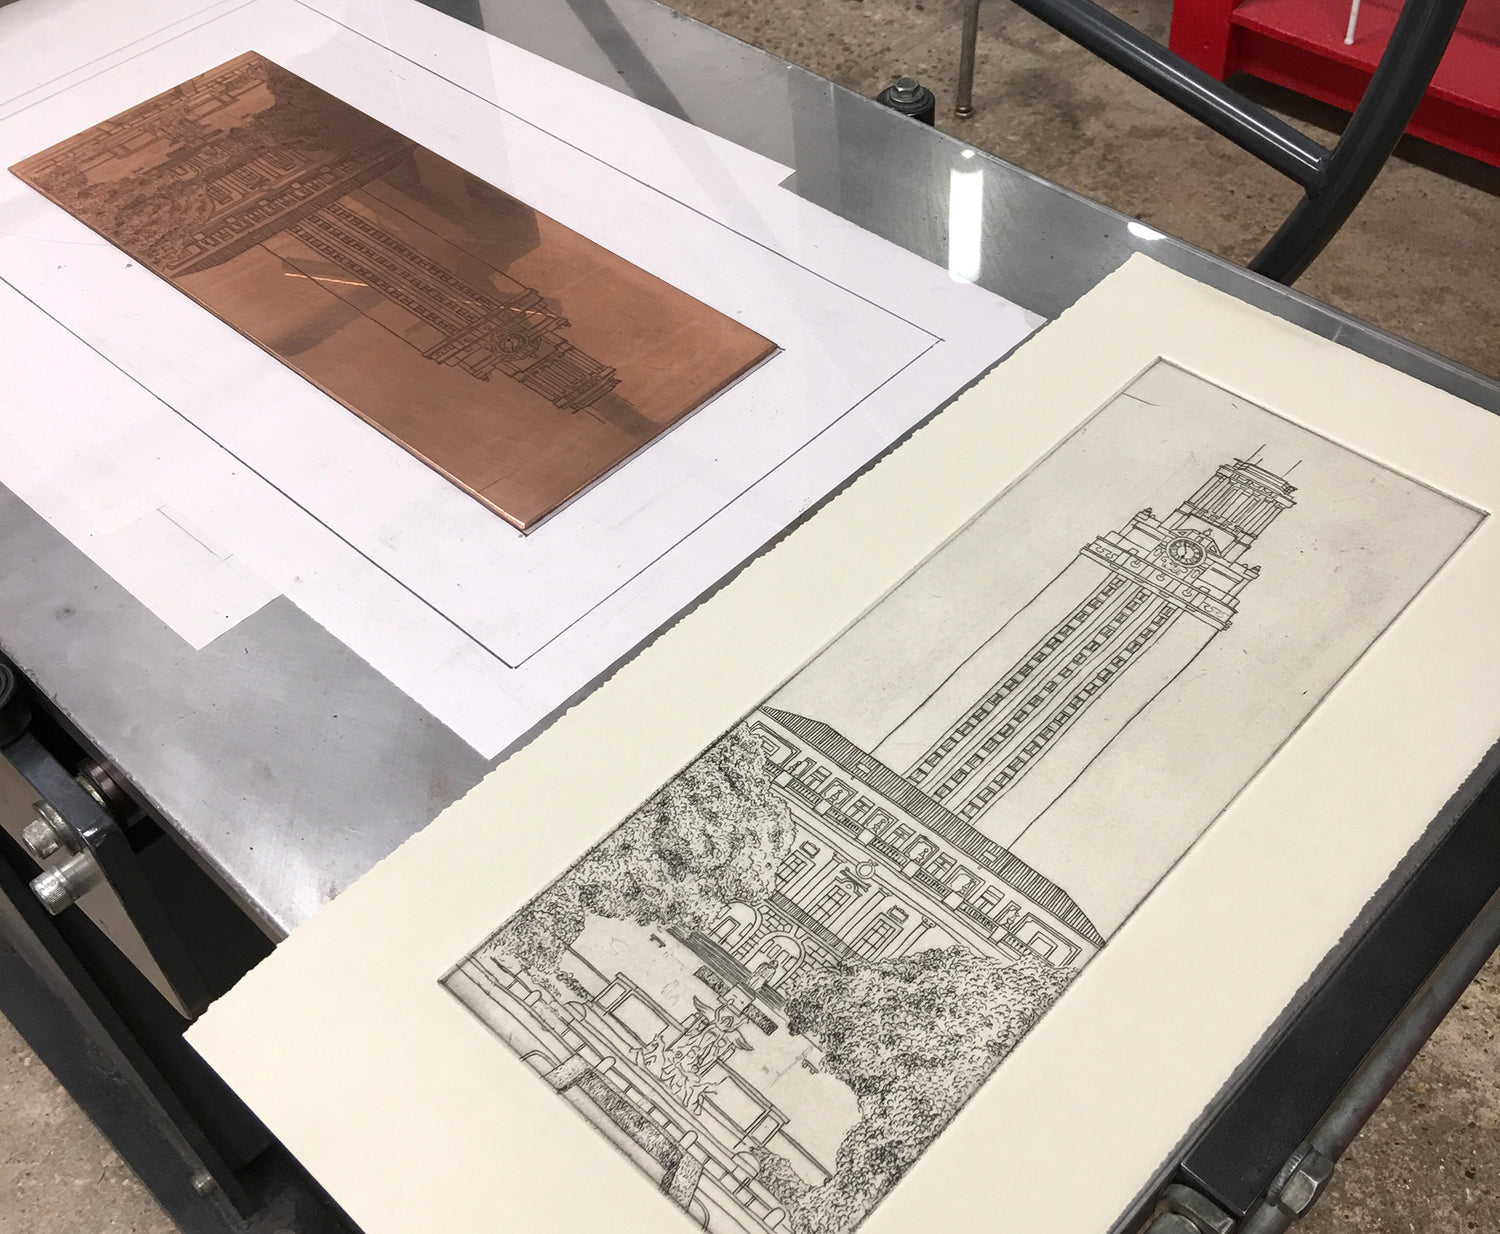
STEP SEVEN
Line Work Proof
and create the template, which is basically 2 squares, one where the plate will be positioned and the other where we will place paper. We also need to adjust the pressure of the press.
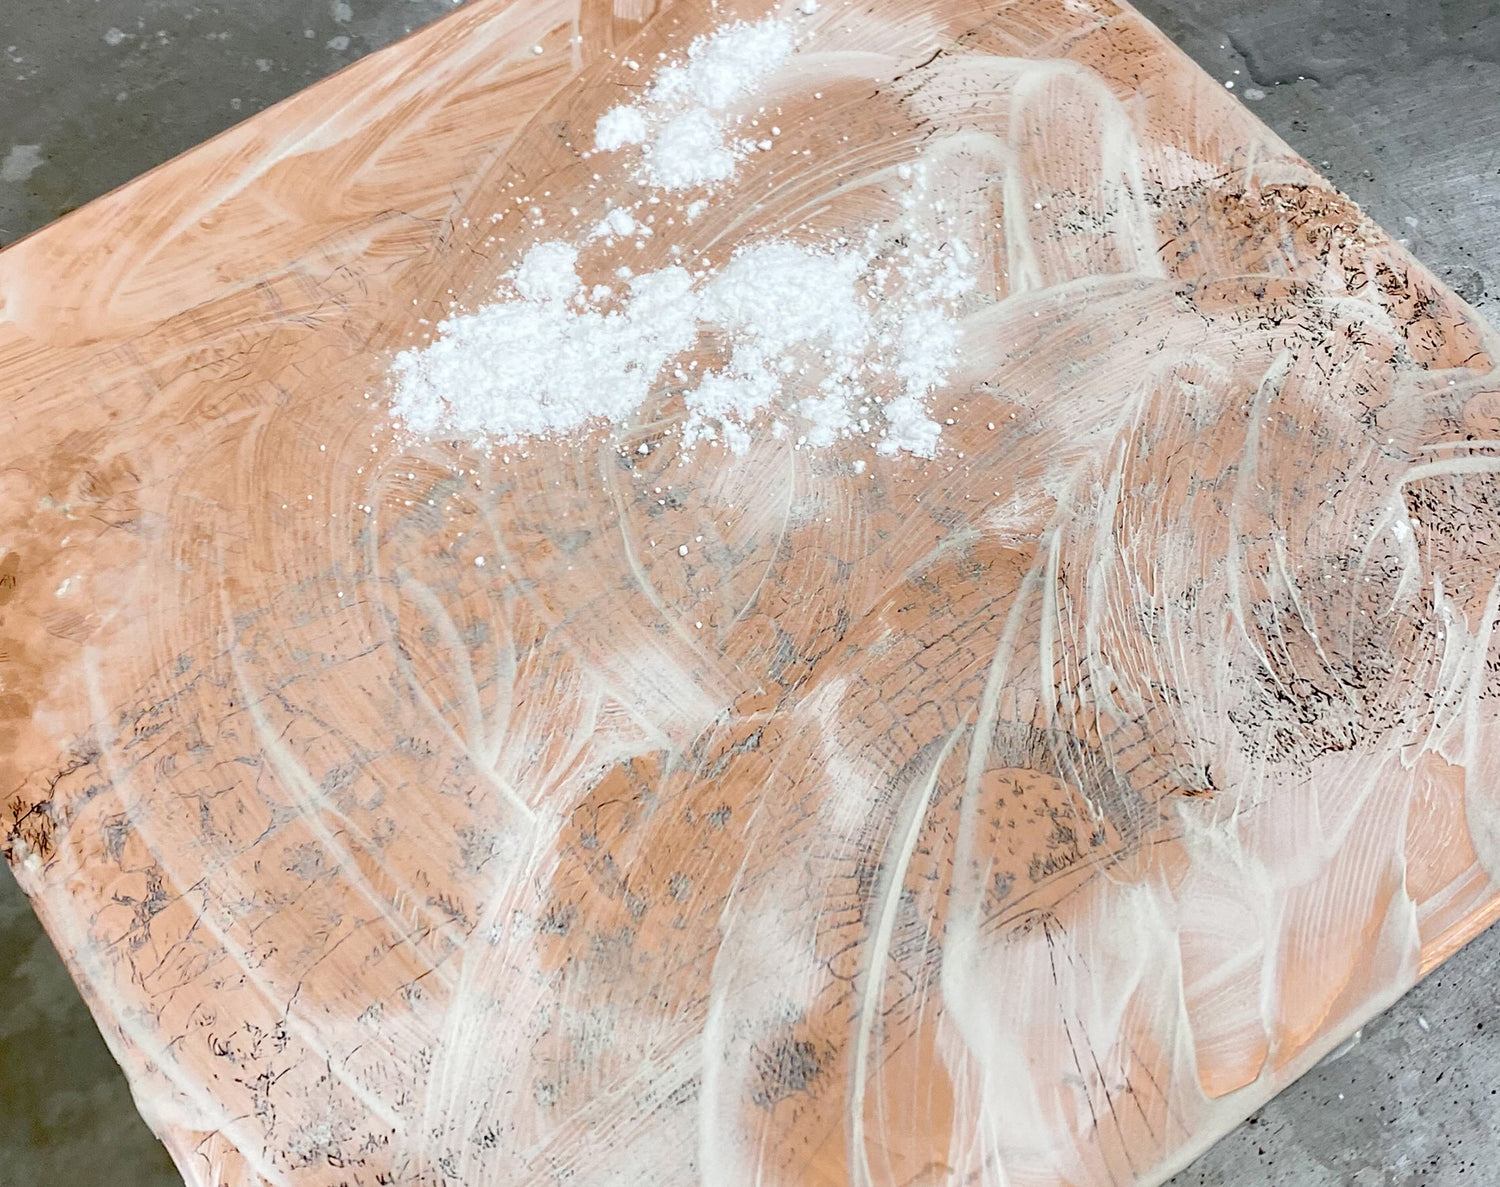
STEP EIGHT
Clean Plate and Degreese
The etching portion is complete, and now we’ll begin the aquatint process. First, we’ll thoroughly degrease the plate to ensure proper adhesion of the rosin on the plate.
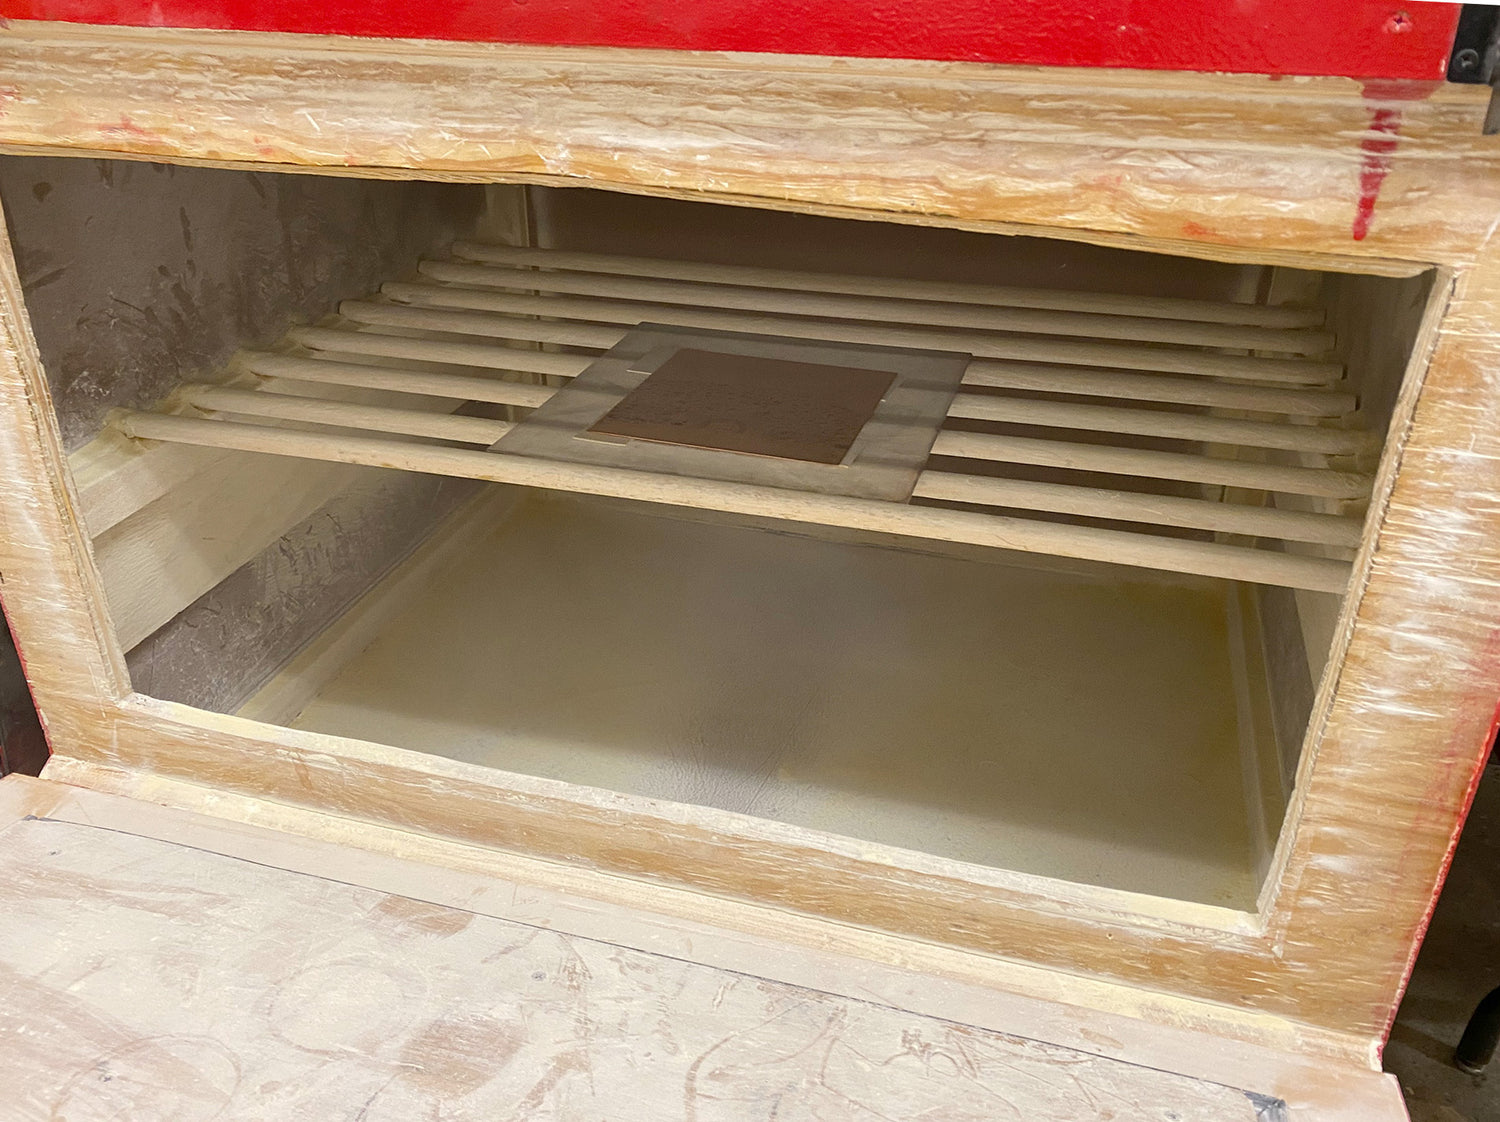
STEP NINE
Rosin Box
First, we close the box and turn on the fan to blow finely powdered rosin particles into the air, allowing the coarse particles to settle for a few minutes. Then, we place the plate inside the box, close it, and wait 5 minutes for the rosin particles to settle evenly on the plate.
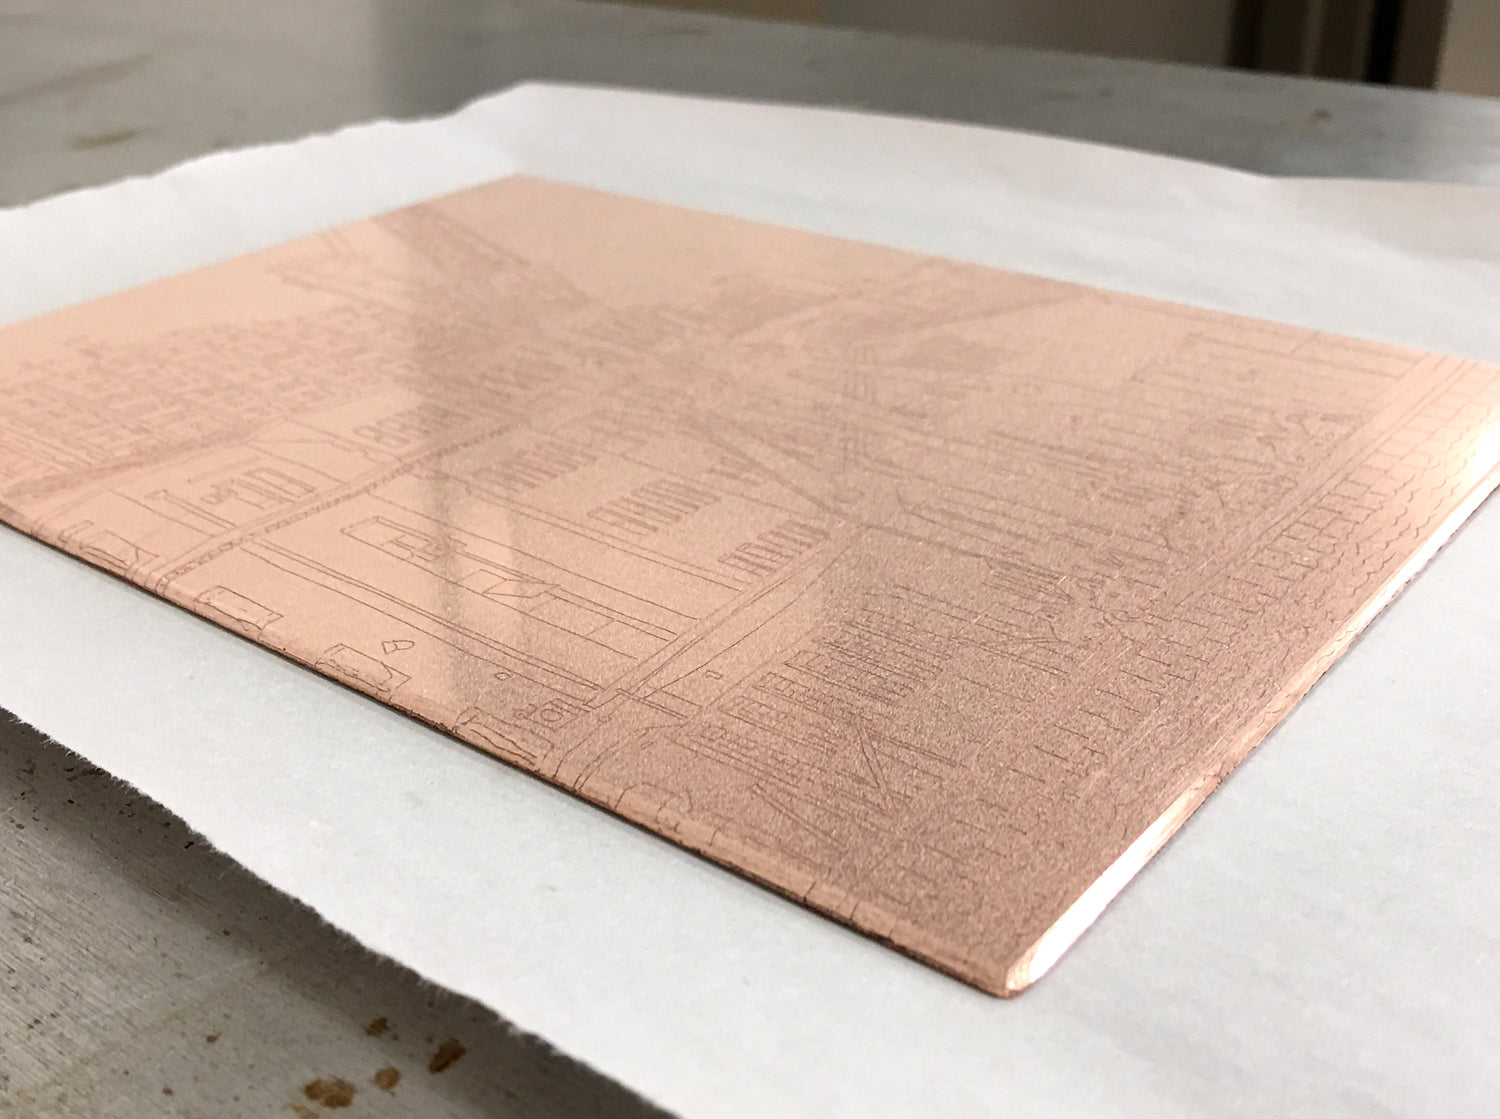
STEP TEN
Melt Rosin
After the plate has been exposed to the rosin, we place it on the hot plate to melt the rosin particles. These rosin dots function similarly to screen dots in the CMYK printing process, allowing us to create halftones (grays).
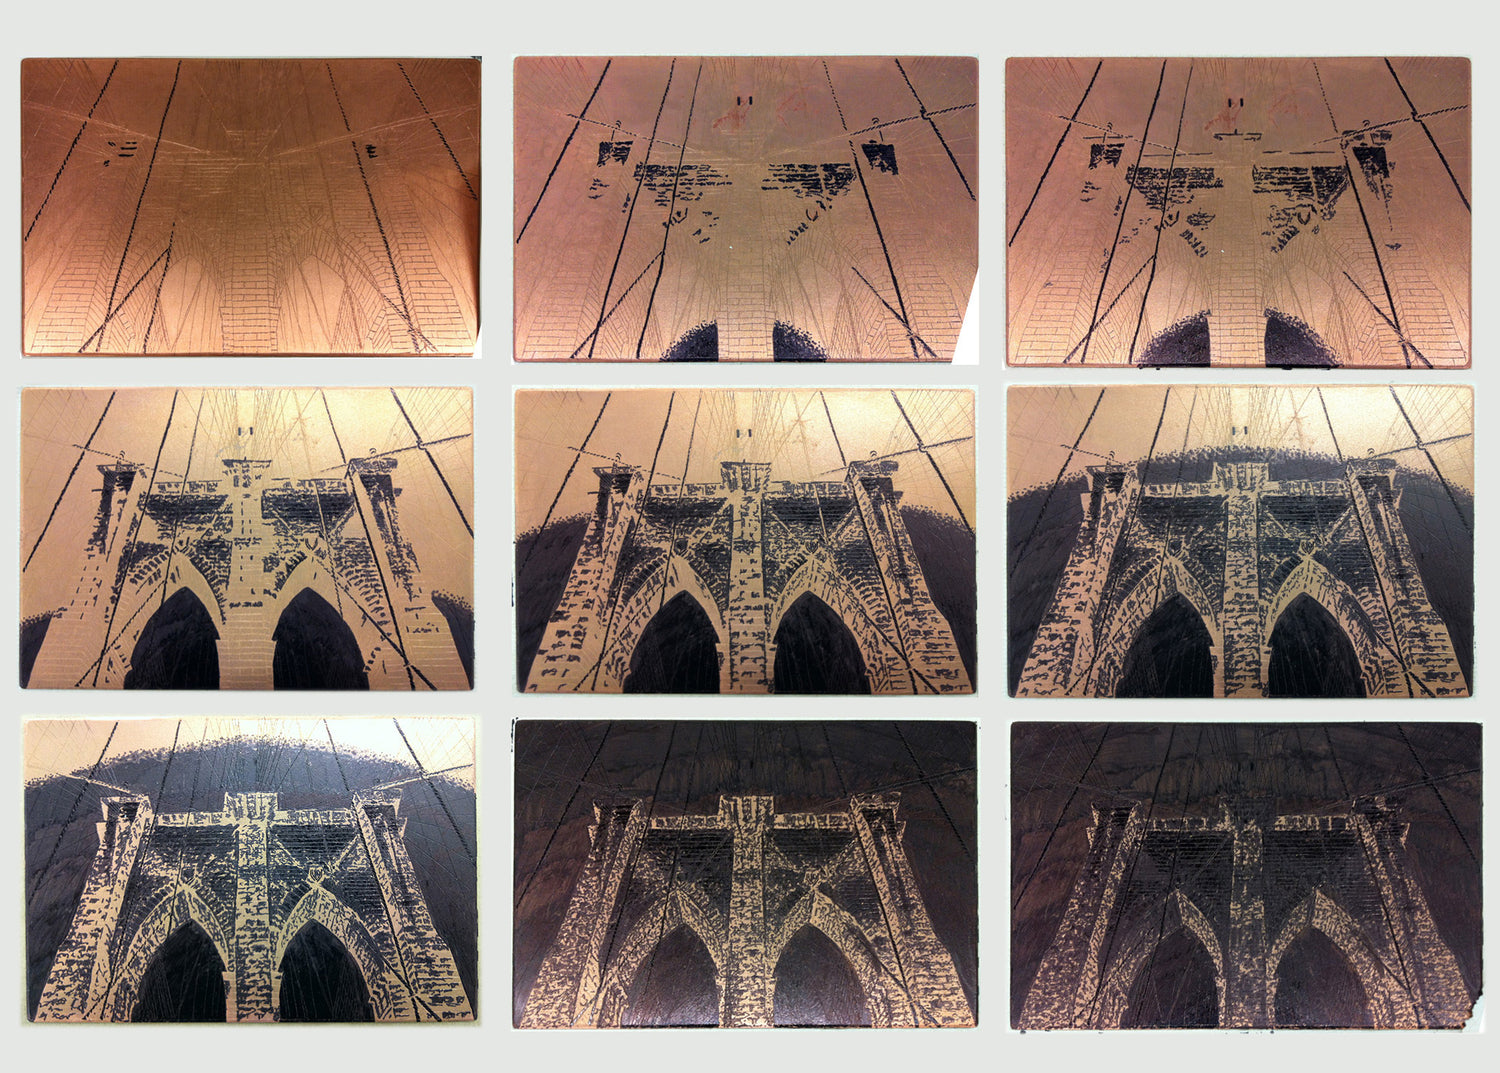
STEP ELEVEN
Protect Areas and Expose to Acid
Once the plate has cooled, we protect the areas we want to remain white using either hard ground or a Sharpie. Then, we immerse the plate in the acid tank for a minute or two, clean off the acid, let the plate dry, and repeat the process for the next area. It's similar to drawing the negative in a film camera.
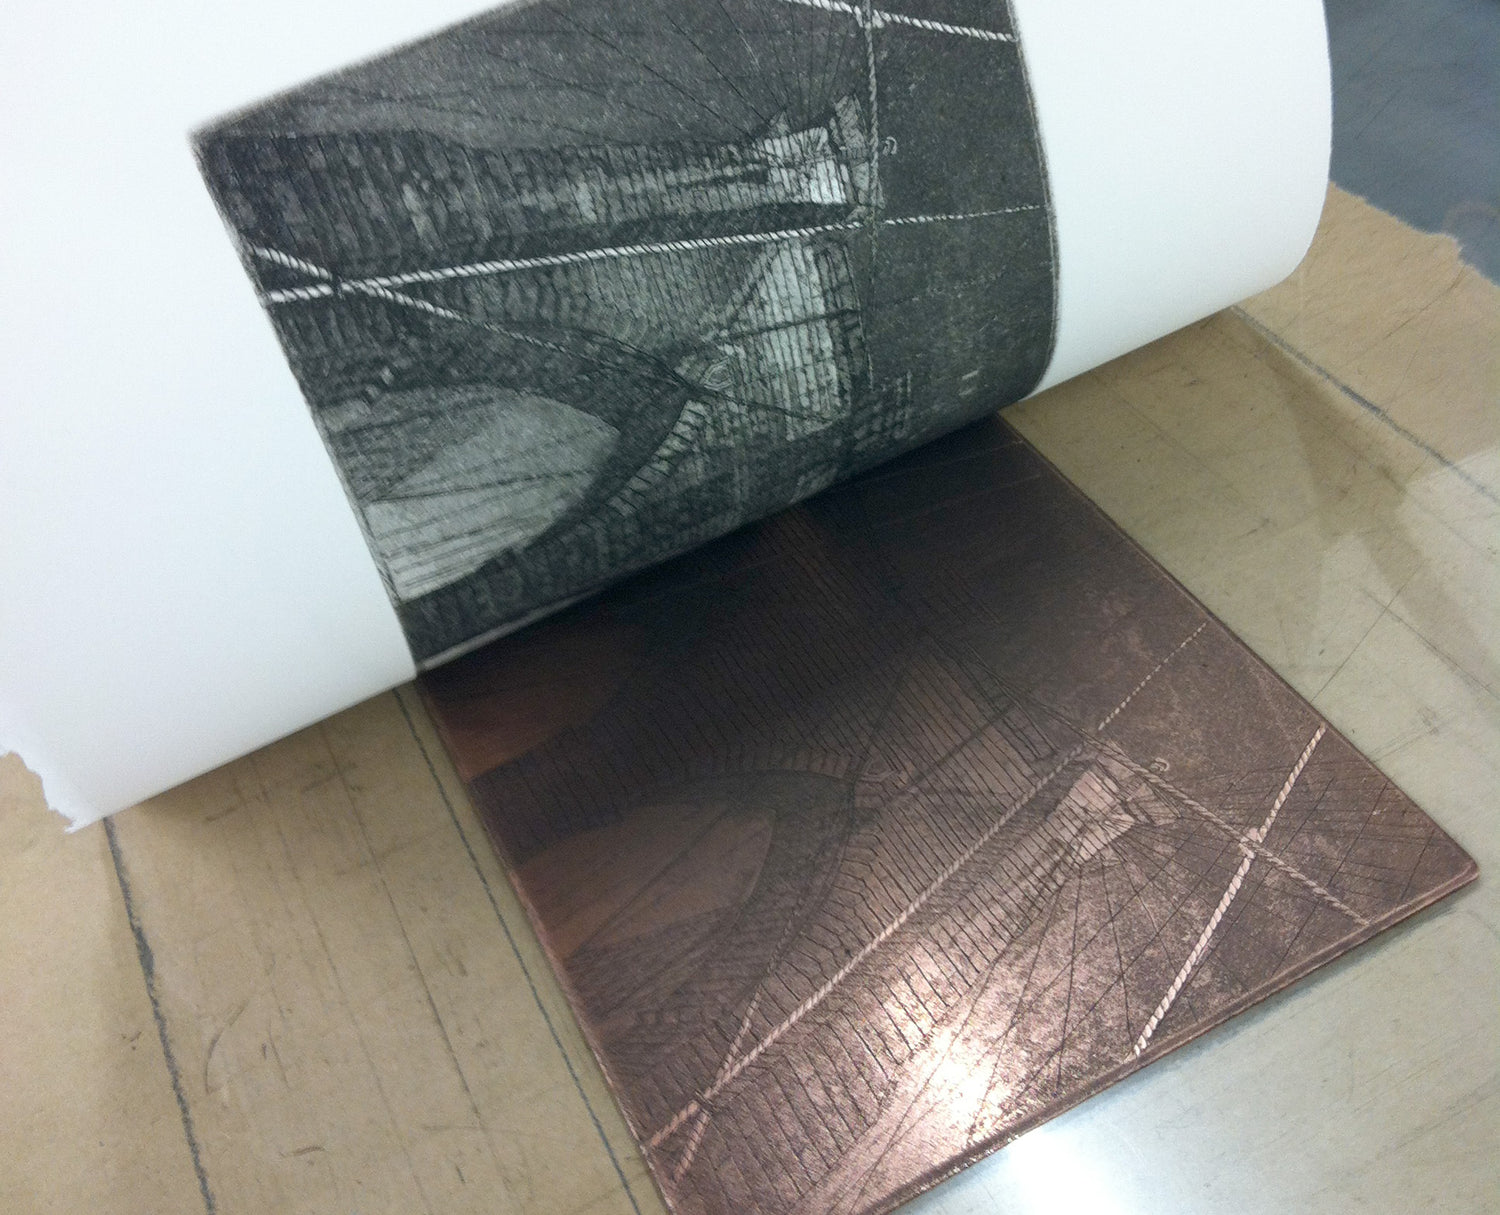
STEP TWELVE
Print Proof
Once the final step of the aquatint exposure is complete, we remove the hard ground, degrease the plate, and ink/buff it again. After printing, we evaluate the quality and may burnish areas to lighten them, or if necessary, add another aquatint to darken others.
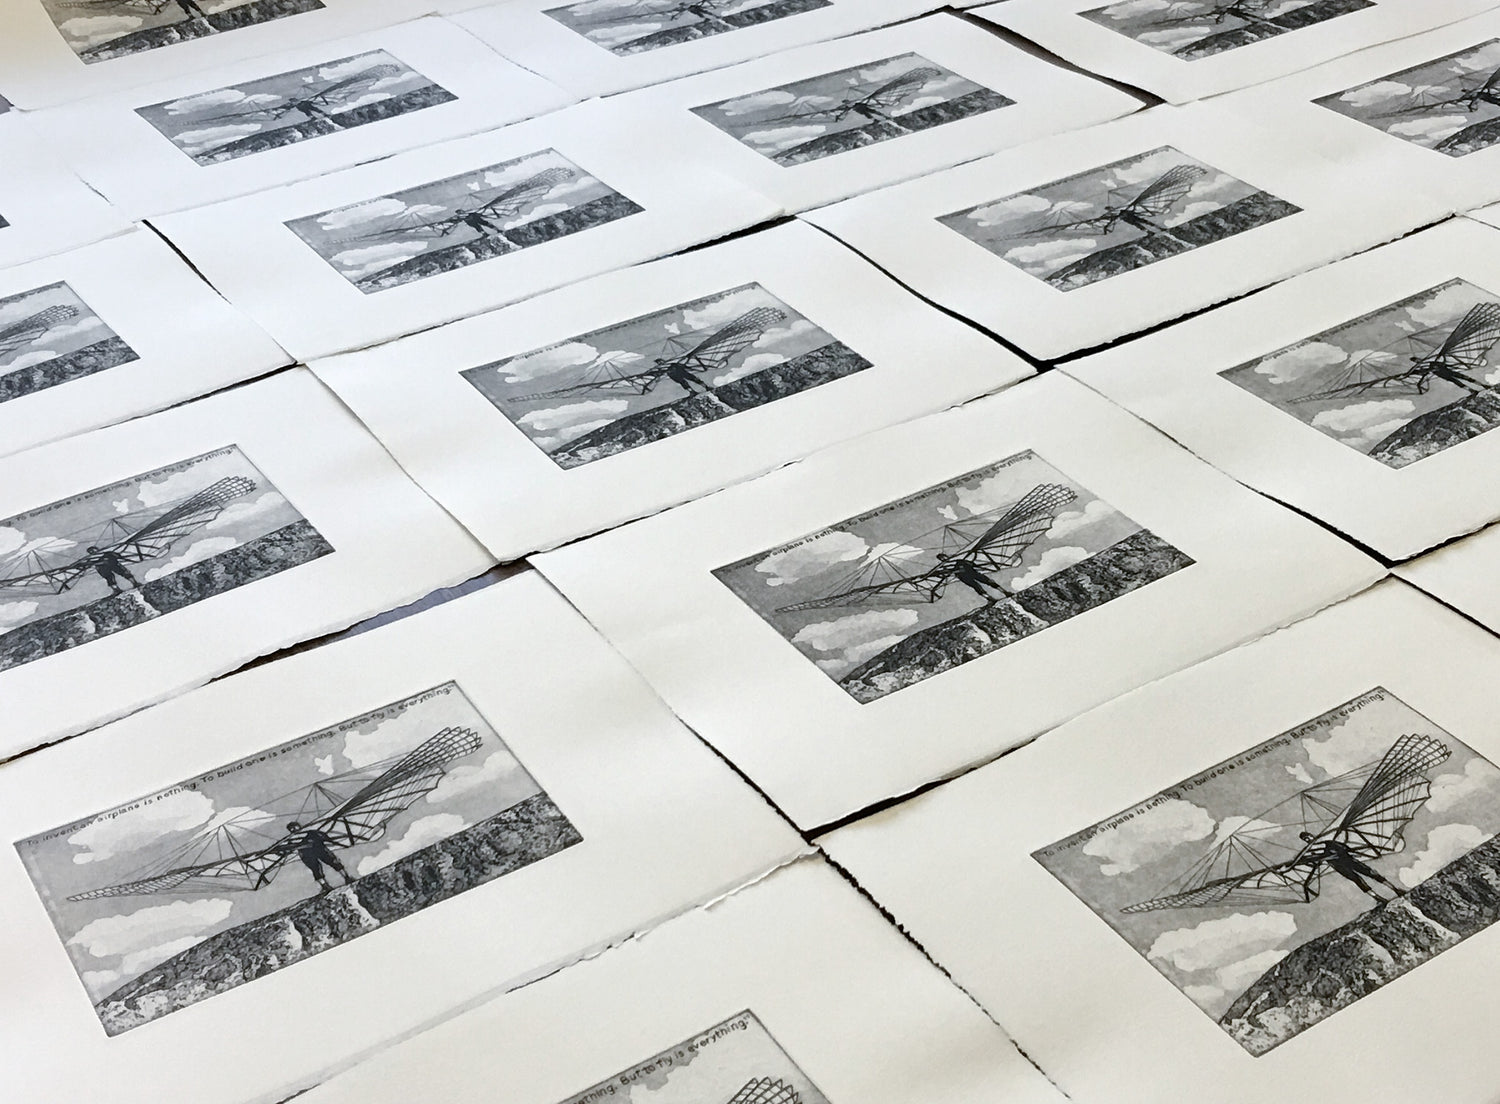
STEP THIRTEEN
Editioning
Before going to the press, we prepare the paper (BFK Rives, 280 gsm), cut it to size, and soak it in water for an hour. After all the prints are made, we select and sign them. The typical edition consists of 15 to 25 original hand-pulled prints.